Cinelifter Drones: Practical Tips and Tricks for Hobbyists.
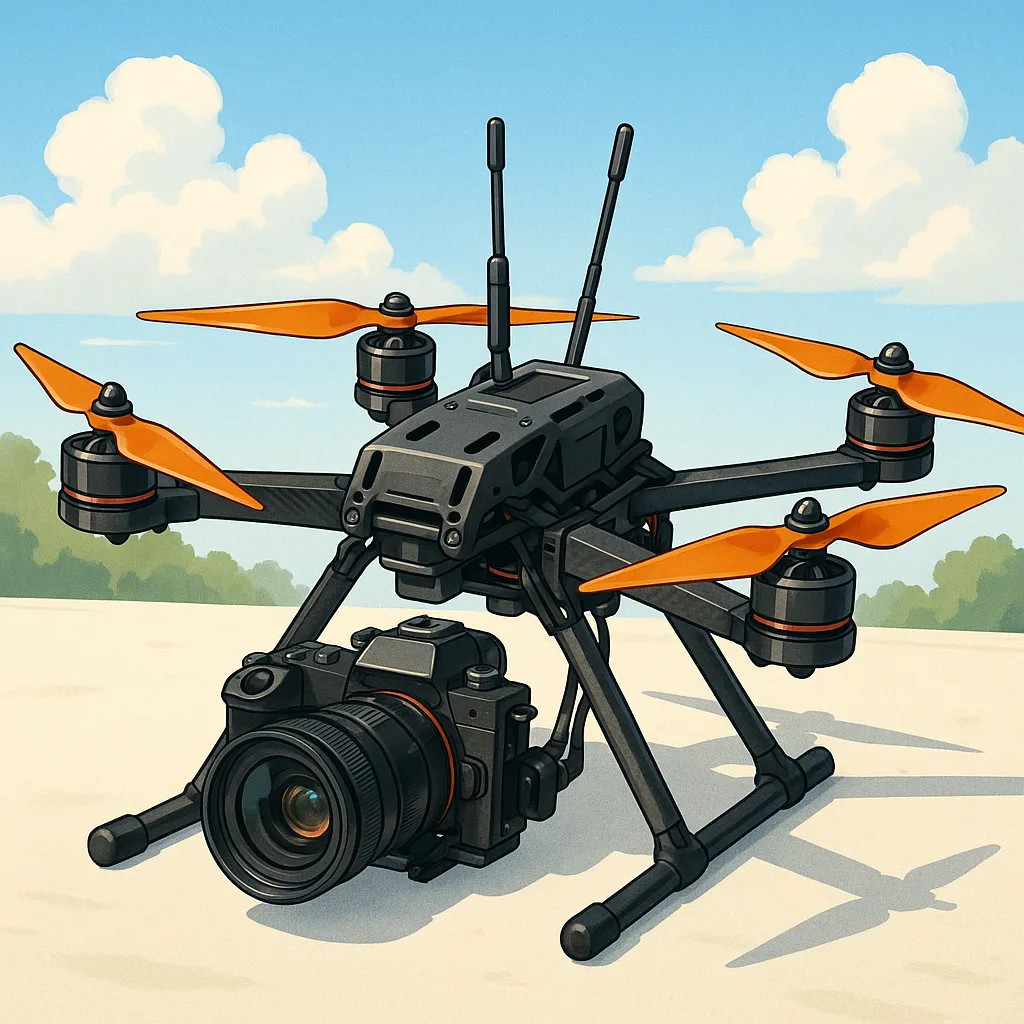
Cinelifter rigs are a delightful step up from standard camera drones for any hobbyist who wants cinematic movement and higher quality optics, and the jump in capability brings a handful of practical challenges worth mastering. These machines carry heavier camera loads and demand extra attention to vibration control, exposure control with ND filters, and considered flight planning to get the smooth, cinematic footage you hope for. This guide distils the most useful tips I have gathered through building and flying hobbyist-scale cinelifters, with an emphasis on workflows you can adopt without industrial budgets.
Choosing and mounting camera loads is the starting point for a stable system, and the golden rule is to know the weight and balance of everything you add. Select a gimbal rated comfortably above your camera and lens weight, and keep the centre of gravity as low and as central as possible for predictable handling. Consider lens choice as well as body weight, because a heavy cine lens on a lightweight body can upset balance and reduce flight time significantly. If you want step-by-step build notes and parts lists, check the project pages at WatDaFeck for examples and component recommendations that are friendly to hobbyists.
Vibration control is the difference between usable footage and an afternoon of stabilisation work, so invest time in getting it right before every shoot. Start with prop and motor balancing, then address structural sources by stiffening the frame where necessary and avoiding long, floppy arms. Soft mounting the gimbal is beneficial, but be cautious because overly compliant mounts can create low-frequency resonance that the gimbal struggles to correct. Complement mechanical mitigation with clean ESC tuning and gyro filtering in your flight controller firmware, and always test with your camera powered and recording since electrical noise can also show up as micro-jitters in the footage.
ND filters are an under-appreciated control for aerial cinematography, and using the right density will keep your shutter speed in a filmic range at common frame rates. Match your shutter to roughly double your frames-per-second to maintain natural motion blur, and carry a few fixed ND stops rather than relying solely on a variable ND because cheaper variable filters can introduce artefacts or image unevenness. Pay attention to vignetting when using wide lenses and stack filters sparingly, and always run a quick exposure and flicker test under the actual lighting conditions to ensure LED screens or mixed lighting do not produce strobing in your footage.
Flight planning for cinelifter sorties must be deliberate and paced to protect your gear and capture predictable motion. Pre-visualise your shots, fly the path at a steady speed that matches your chosen shutter and focal length, and use waypoints or a follow-me mode for repeatable passes when possible. Make battery and payload weight part of your planning so you have a comfortable safety margin for return-to-home and any holding manoeuvres, and check weather forecasts closely for wind gusts that the heavier payload will feel more acutely. A short reconnaissance flight without the camera attached can reveal turbulence and obstacles while preserving your expensive kit.
Operational habits will keep your cinelifter reliable and your footage consistent, so create checklists for preflight balancing, cable routing, and gimbal calibration, and include a camera checklist for lens cleanliness and ND selection. Record a redundant lower-resolution proxy if your main camera is critical, as a backup often saves a reshoot on tight schedules. After flying, inspect dampers and mountings for wear and document any changes to thrust performance or flight controller settings, and incorporate metadata and lens calibration notes into your file naming to speed up post-processing and grading.
Comments
Post a Comment