 VTOL with ELRS and LiPo setup." />
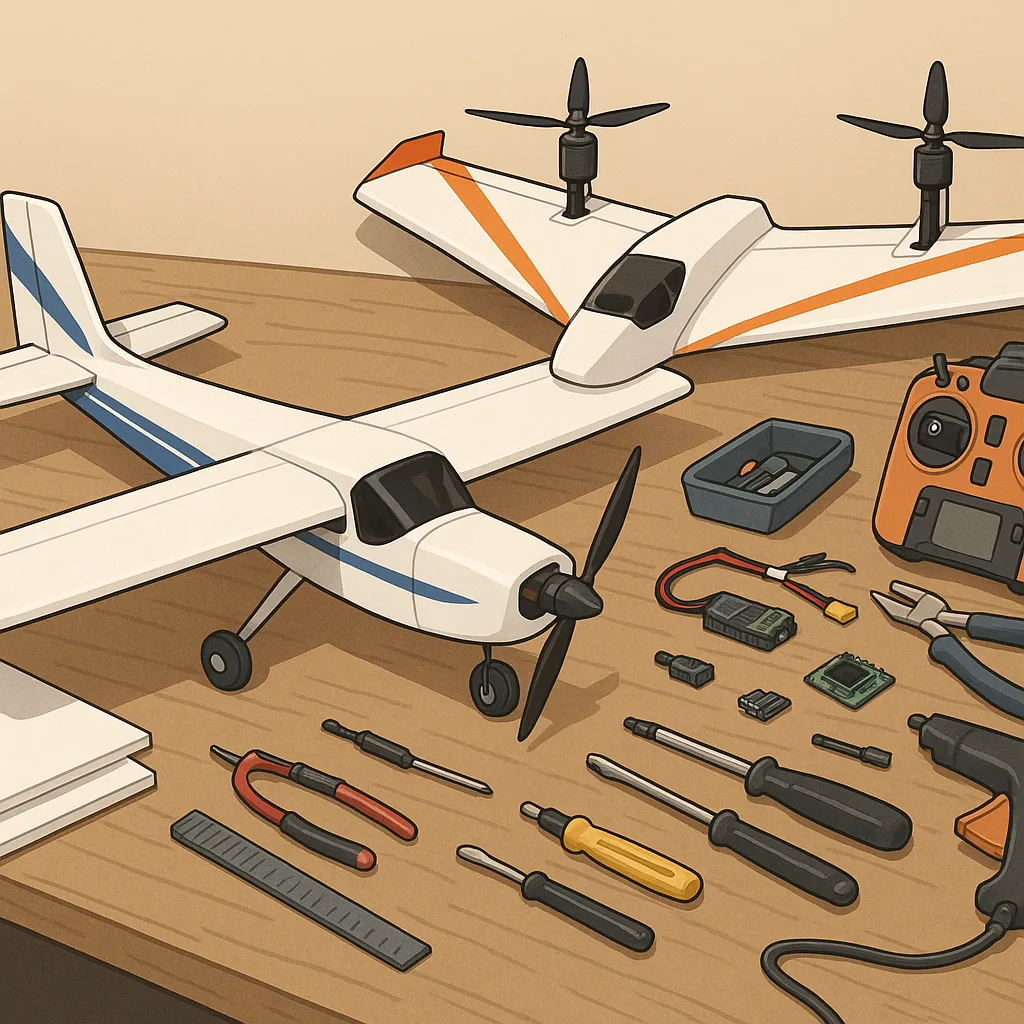
Step-by-step build log: Foam trainer to FPV wing and VTOL with ELRS and LiPo setup.
I started this project as a single-season series of builds aimed at hobbyists who want to move from a simple foam trainer to an FPV wing and finally experiment with a small VTOL conversion, and this log documents each stage with practical notes and lessons learned.
Parts, tools and electronics I used for these projects were deliberately chosen for availability and reliability, and they include the basic airframes and the radio and power items needed for safe testing.
- Foam board trainer kit or EPP/EPF airframe and a carbon spar for reinforcement.
- Small brushless motors (2204–2206 for wings or 1806 for trainers), compatible ESCs and propellers.
- Flight controller with fixed-wing and VTOL support, and a separate FC for FPV if required.
- ELRS receiver and transmitter modules for a low-latency link and long range.
- LiPo batteries: 3S and 4S options in 850–2200 mAh depending on weight and power requirements.
- VTX, camera, antenna, servos for control surfaces and tilt mechanisms if doing VTOL.
- Basic tools, hot glue or foam-safe CA, sandpaper, and carbon rods for spars.
For the foam trainer I cut and taped a simple basic flying wing using 6mm foam board and reinforced the centre with a 6mm carbon tube that double-served as a spar and battery strap anchor, and I fitted two micro servos inboard to drive the elevons while ensuring pushrods ran cleanly through heat-shrink tubing to prevent chafing of the foam skin.
Converting that platform into an FPV wing required a small camera pod and careful attention to nose weight, so I installed the camera just ahead of the centre of gravity and used a lightweight VTX mounted on a foam plate with the antenna angled up for better reception, and I tweaked the elevon throws and expo in the flight controller to give smooth hands-off cruising while keeping enough authority for aerobatics.
When I experimented with a VTOL variant I added two tilting motors to the nose using 3D-printed brackets on the fuselage and a single pusher motor at the rear for efficient forward flight, and I reinforced all tilt points with extra epoxy and carbon plates because the moment loads on transition were far higher than on the simple trainer.
The electronics setup is where a lot of these builds come together, and I chose ELRS for the radio link because the latency and telemetry are excellent for both FPV wings and VTOL aircraft, and I paired that with an INAV-capable flight controller to manage elevon mixing, auto-trim and VTOL transition modes; I documented the full parts list and photo log on watdafeck.uk for reference and linked settings for PID and failsafe there as well.
For batteries I tested 3S 1300 mAh packs on the trainer and 4S 1500–2200 mAh packs on the FPV wing and VTOL to get the right balance of current delivery and endurance, and I always check battery sag, ESC temperature and motor amp draw with a wattmeter on the bench before any first flight, and I recommend logging flights and using small incremental trim and PID changes rather than large jumps so you can diagnose handling issues safely.
Comments
Post a Comment