Land Hovercraft Build Log — Low-Friction Skids, Blower Tuning and Surface Transition Testing.
This build log walks through a compact land hovercraft project I completed as a weekend prototype with a focus on low-friction skids, blower tuning and how to test transitions between different surfaces, which are the bits that make or break a usable machine.
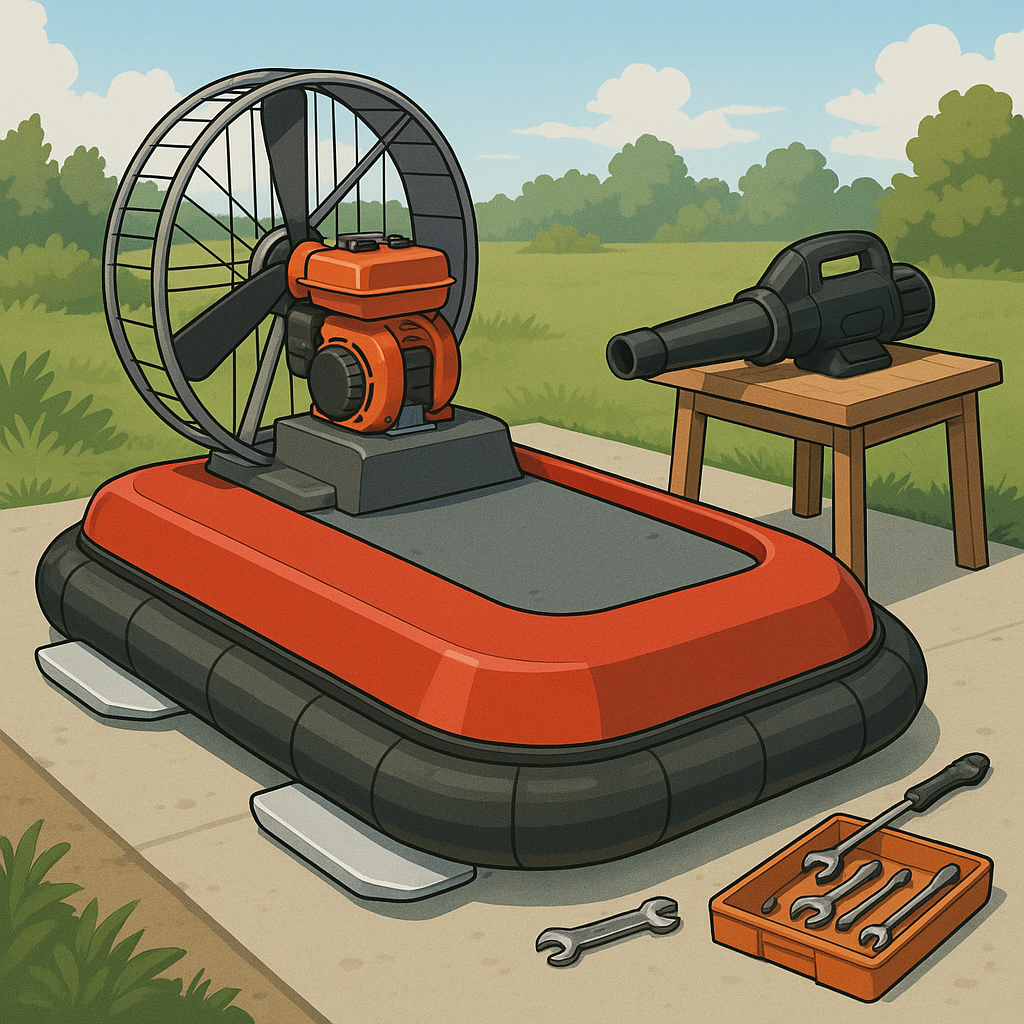
I started with the platform and skid arrangement to keep friction low and wear manageable, using a 6mm plywood deck reinforced with a 10mm HDPE sacrificial plate at the four runner contact points, and bolted-on 20mm UHMW runners shaped with a rounded leading edge to shed bumps and reduce snagging on rough ground. The runners are mounted on slotted brackets so I can adjust the anti-rotation toe-in and replace wear strips without disturbing the skirt, and the leading edge is scaffolded with a thin aluminium wear lip where I expect the hardest impacts while still keeping the glide surface high and out of debris. For small-scale projects, I recommend bicycle inner-tube edging beneath UHMW to absorb shock and to protect the skirt from sharp stones during transitions between terrain types.
Blower selection and tuning consumed the next weekend, as available flow and static pressure determine whether the cushion will ride cleanly across grass as well as tarmac, so I experimented with an axial leaf-blower for flow and a small centrifugal vacuum fan for pressure. The key observations were that high flow with low static pressure leaks away at seams, while higher static pressure with restricted flow creates a stiffer cushion under load, so I added a simple throttle and a PWM fan speed controller to fine tune in situ. A short list of practical tuning items I used during setup was helpful for repeatable results and is worth copying if you are building a similar craft.
- Measure static pressure under the skirt with a tyre-pressure gauge adapted to a brass nipple and hose attachment to quantify cushion pressure.
- Test with and without a diffuser plate to assess distributed airflow benefits on larger decks.
- Try a skirt bleed slot to stabilise pressure versus having a fully sealed skirt which leads to oscillation.
Surface transition testing was done in a methodical way over three days with a single operator and a camera to capture failure modes, starting on short grass then moving to compacted gravel and finally to tarmac ramps that mimicked kerb edges and small drops. For each surface I logged speed, blower RPM, cushion pressure and skirt behaviour, and I frequently found that a slightly longer skirt with segmented fingers performed better at bump transitions because it allowed local venting instead of losing the whole cushion. I also marked the skids with reference lines and used a simple clearance gauge to monitor ride height changes when the craft crossed seams, as keeping at least 10–15mm of consistent air gap prevents the skids from catching and keeps drag minimal.
Troubleshooting and final adjustments included sealing seams with a light bead of silicone at testing intervals, trimming skirt fingers to balance lift and leakage, and repositioning the blower inlet so the plenum distributes air evenly under the deck. I kept notes and photos on the build page and you can find the running parts list and photo log on the WatDaFeck site for anyone who wants to replicate the fittings and suppliers I used. The end result was a nimble prototype that could cross lawn, loose stone and short kerb-like ramps with only modest speed and without the skids catching.
Lessons learned were simple and practical: get the skids right first because they define the base friction, tune the blower for static pressure rather than pure flow if you expect rough ground, and test transitions slowly while making incremental adjustments to skirt geometry so you build confidence in the craft's behaviour. Follow me on: Facebook: https://www.facebook.com/watdafeck3d · Instagram: https://www.instagram.com/watdafeck3d/.
Comments
Post a Comment