Building a Small RC Hovercraft: A Step-by-Step Hobbyist Build Log
This build log follows my recent small RC hovercraft project and covers the decisions I made on skirt design, the split between lift and thrust fans, drift control techniques and how I waterproofed the electronics for rough pond testing.
I started with a simple plywood platform 400 mm long and a lightweight foam deck to keep the centre of gravity low, and I scoured spare parts for suitable motors and props to avoid overspending. The lift fan needed to move a lot of air at low pressure while the thrust motor had to provide high-velocity airflow for forward movement, so I chose a 2206 brushless for thrust and a larger diameter, lower KV motor with a wide-blade fan for lift to create a stable cushion.
- Materials: 3 mm plywood base, 10 mm foam deck, neoprene sheet for skirt, nylon rivets, aluminium ring clamp, two brushless motors and ESCs, small flight controller or gyro, sealed electronics box and bilge pump for testing.
- Tools: hot glue gun, soldering iron, jigsaw, rotary cutter, heat gun and silicone sealant.
Designing the skirt was my first major trial and error step, and I settled on a segmented finger skirt made from neoprene because it tolerates rough landings and handles small obstacles better than a single bag skirt. I cut 20 mm fingers around a 300 mm diameter ring, glued them to a flexible inner plenum and clipped the plenum to the base with an aluminium clamp so I could easily swap skirts during tests. The key is to tune the finger length and spacing so the hovercraft seals at hover height without creating so much stiffness that the skirt stops conforming to uneven surfaces.
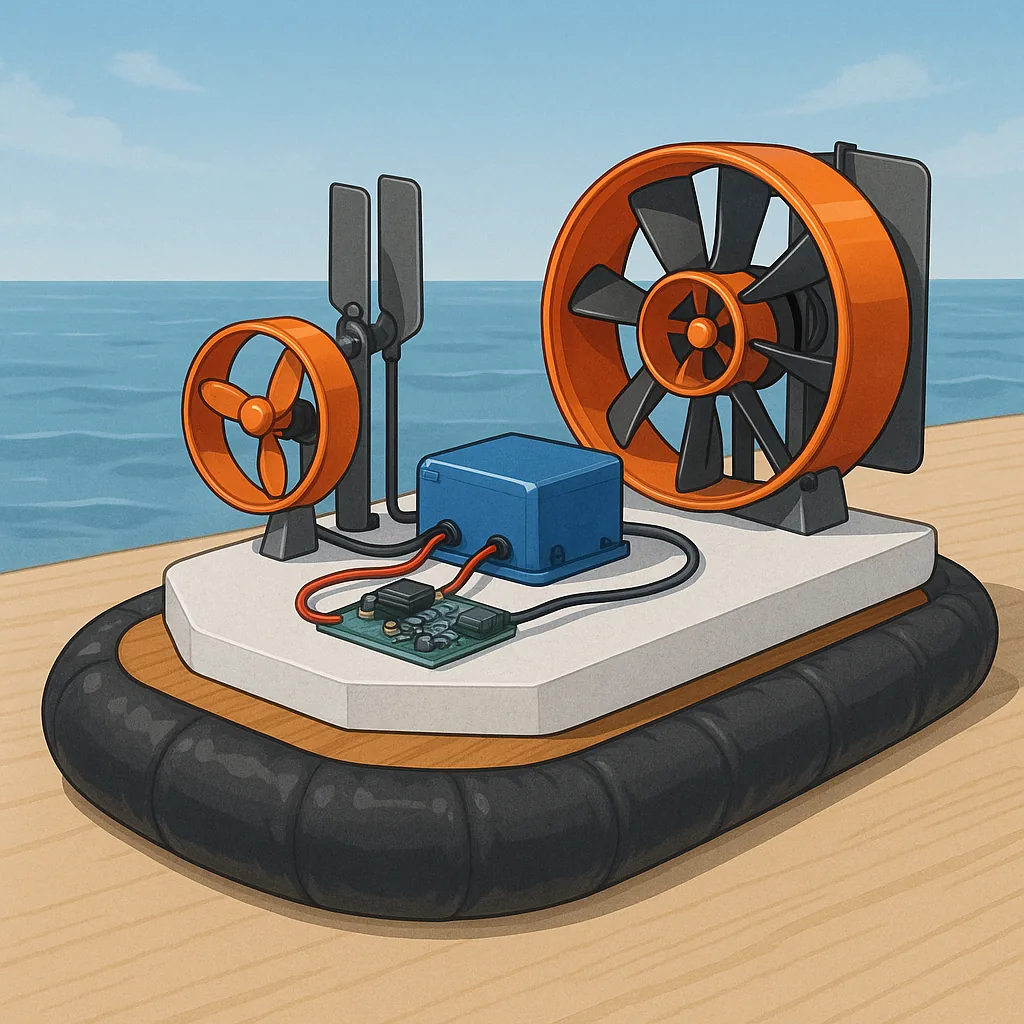
Getting the balance between lift and thrust takes iteration, and I emphasise separating the two functions for predictable behaviour by using one fan dedicated to lift and a second for thrust. My lift fan is larger and runs at a lower RPM to pressurise the plenum with minimal turbulence, while the thrust fan is smaller and higher speed to produce directed airflow for propulsion. I mounted the thrust fan slightly raised and shrouded it to improve efficiency, and I used ESCs with decent torque control so I could feather power during slow manoeuvres.
Drift control on a hovercraft is mostly about managing lateral airflow and momentum, so I combined differential thrust for coarse steering with a small vectored nozzle behind the thrust fan for fine adjustments. I added a simple gyro-based stabiliser to reduce yaw oscillations and kept the battery as central and low as possible to reduce tipping during quick turns. For waterproofing I housed the flight controller and receivers in a sealed ABS box with silicone gasket and used hydrophobic conformal coating on exposed PCBs, and I route servo and motor wires through flexible rubber grommets to keep spray out and allow for easy access during maintenance, and I publish full CAD files and build notes on my site at WatDaFeck.
Testing was iterative: I began on grass with a safety tether to verify lift and skirt seals, then moved to a calm pond for propulsion tests, gradually increasing speed while noting how skirt shape affected handling. Watch for water ingress at seams and around motor shafts and be ready to add sacrificial tape or small drainage holes above the plenum to prevent trapped water from upsetting buoyancy. With sensible power curves, a tuned skirt and modest thrust the craft was easy to control and forgiving of minor impacts.
Follow me on: Facebook: https://www.facebook.com/watdafeck3d · Instagram: https://www.instagram.com/watdafeck3d/.
Comments
Post a Comment