CAD design for hobbyists: project ideas to learn Fusion 360, Onshape and printing for fit.
Computer aided design is the bridge between a sketch on a napkin and a part you can hold in your hand, and for hobbyists learning to model with intent is the best way to improve practical making skills.
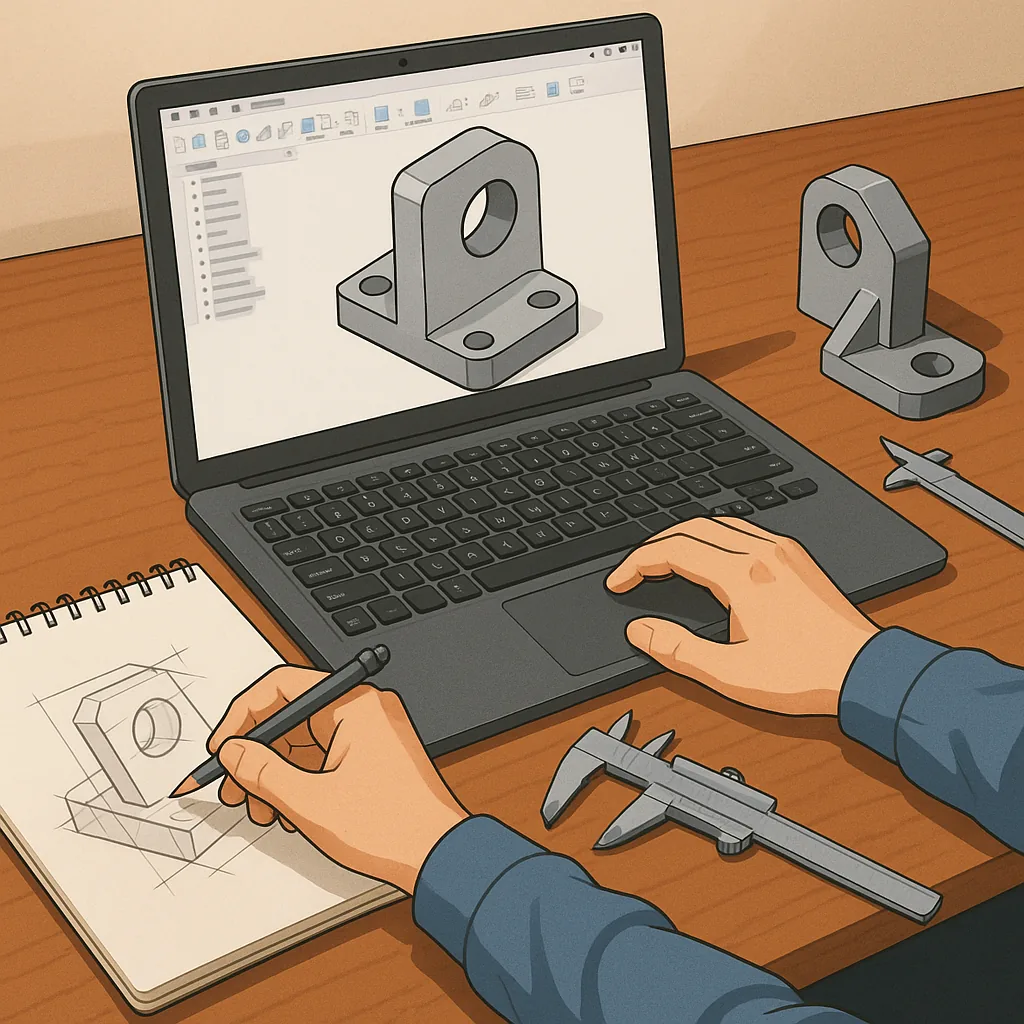
Below are project ideas that teach specific CAD principles such as tolerancing, assemblies and fit, each of which can be tackled in either Fusion 360 or Onshape depending on your preference and hardware setup.
- Modular workshop organiser with snap-fit brackets and interchangeable trays to practise parametric modelling and tolerance stacks.
- Adjustable camera or phone mount that demonstrates constrained motion, screw bosses and press-fit bearings.
- Custom servo horns and linkages for RC projects to learn small-feature modelling and functional fits for mating parts.
- Electronics enclosure with PCB mounting bosses, cable exits and a press-fit lid to master standoffs, snap features and hole sizes for screws.
- Filament spool holder and bearing carrier that uses off-the-shelf components so you can design around standard sizes and tolerances.
- Folding gadget such as a hinge-based phone stand that introduces living hinges, pinned joints and assembly clearances.
Tolerancing is one of the most commonly overlooked skills for makers, and learning a few rules of thumb will save you time and filament.
Start by measuring a printed test block and a dovetail test to discover your printer's dimensional behaviour, then build parametric offsets into holes and plugs; for most desktop FDM printers a 0.2 to 0.5 millimetre clearance is a reasonable starting point for sliding fits, while press fits and snap features typically need smaller adjustments and material-specific testing.
Assemblies are where individual parts become systems, so think about interfaces early and model mates or joints rather than relying on hacks during assembly.
In Fusion 360 use joints and as-built joints to define motion and contact, and in Onshape use mate connectors and assembly constraints to keep things predictable, and always model screw bosses, captive nut pockets and alignment keys so multiple parts go together without forcing them into place.
Choosing between Fusion 360 and Onshape comes down to workflow and collaboration needs, as both are excellent for hobbyists learning CAD fundamentals.
Fusion 360 is powerful for integrated CAM, sculpting and local file management with a strong hobby licence, whilst Onshape excels when you want browser-based access, branching, and multi-user editing, and either platform benefits from parametric design, clear feature naming and frequent small test prints to validate fits.
Practical workflow tips include using a small suite of calibration prints to set your hole and shaft tolerances, keeping an organised parts library of fasteners and bearings, and iterating with lightweight prints before committing to long, high-resolution jobs, and for real-world examples and downloadable files see my website at WatDaFeck.
Comments
Post a Comment