Laser cutting build log: Plywood frames, formers, templates and engraving.
I started this laser cutting project to produce a set of lightweight plywood frames and formers for a model boat hull, with the aim of documenting the process step by step for hobbyists who want to use a laser for both cutting and engraving in the same job.
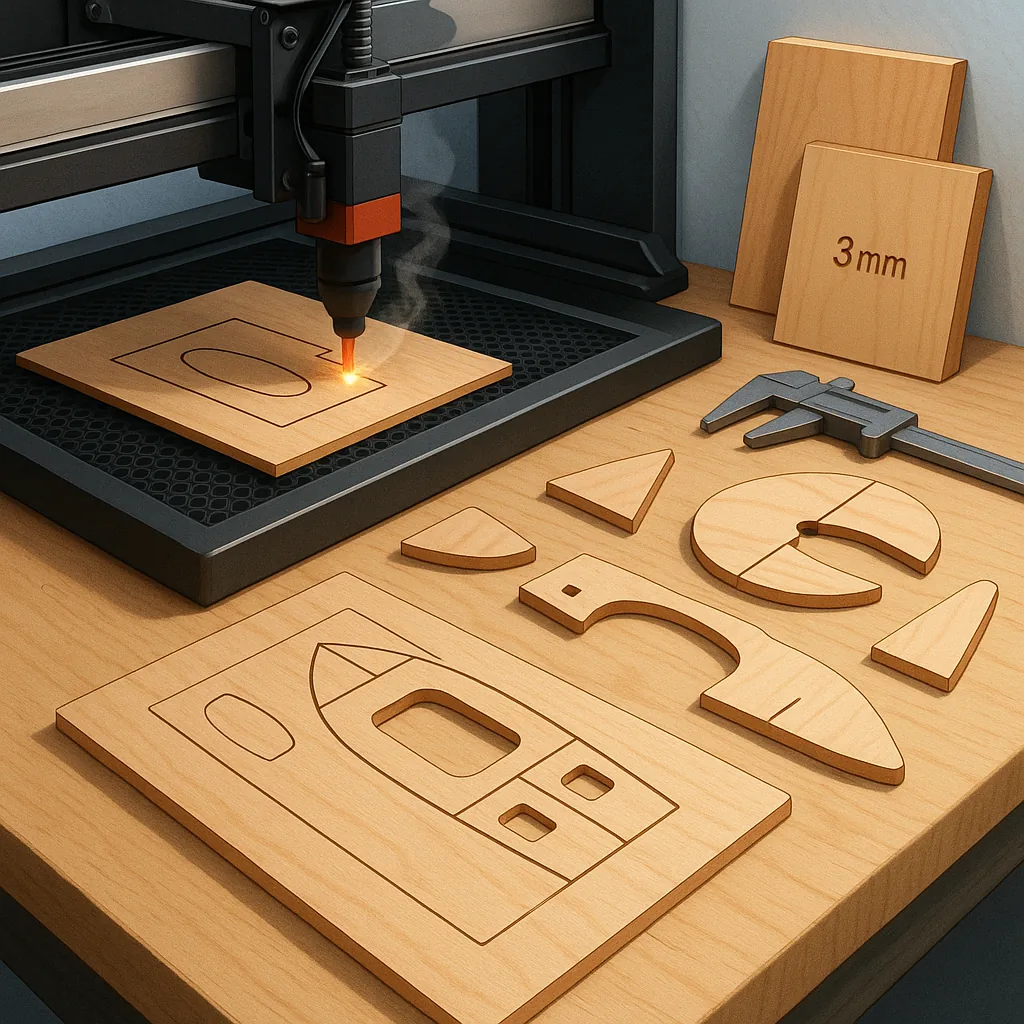
The materials and preparation stage began with choosing 3 mm and 6 mm birch plywood sheets for different parts because they offer a good balance of strength and consistent grain, and I gathered a modest toolkit including a diode or CO2 laser cutter, masking tape, PVA glue, cyanoacrylate for quick tack, a small router or rasp for finishing, and a handful of clamps and weights for gluing up the frames.
My CAD workflow used simple vector outlines for the frames and ribs, and I drew separate raster layers for engraving alignment marks and part numbers so everything comes out in a single run if wanted, and for reference you can find more step-by-step project write-ups and downloadable DXF files on WatDaFeck which helped me refine the template set for nesting and material usage.
Before cutting the final pieces I always do a kerf test on a scrap piece to determine the material removal with my laser, then adjust the paths in the design to compensate so formers and frames slot together snugly, and I also add small tabs and registration holes to keep thin parts from falling out or warping during the cut which makes assembly far easier.
When it came to engraving I used low-power raster passes to score glue lines and numbers onto the inside face of each former to show orientation and grain direction, using masking tape to reduce smoke stains on the faces and multiple light passes rather than one heavy pass to minimise char, and I set the engraving to a higher resolution for crisp alignment marks while keeping the cutting passes separate to avoid melt or excessive kerf widening.
The assembly phase involved test-fitting each rib to its former, sanding mating faces lightly for a flush contact, and using PVA for full-surface joints and a thin spot of CA to hold small tabs while clamps were applied, and after the glue cured I cleaned up engraving soot with a soft brush and a light sanding before sealing the plywood with a sanding sealer and a couple of thin varnish coats to protect the edges where the laser exposure had slightly darkened the wood.
Troubleshooting notes to finish include watching for heat warping on thin pieces which can be reduced by cutting nested frames from one sheet and leaving bridging tabs until final trimming, ensuring good extraction and ventilation to avoid redepositing soot, and remembering that every laser and plywood batch behaves differently so small trial cuts and incremental adjustments are the quickest way to predictable results.
Follow me on: Facebook: https://www.facebook.com/watdafeck3d · Instagram: https://www.instagram.com/watdafeck3d/.
Comments
Post a Comment