Practical 3D Printing Tips for Hobbyists: Materials, Slicer Tuning and Strong RC Parts
Getting consistent results from your 3D printer is about more than just pressing print, and a few targeted tips will save you time and filament while improving reliability and strength. This guide covers the common hobbyist filaments PLA, PETG and TPU, how to tune your slicer for neat prints, ways to make structural parts stronger, and specific advice for printing RC components. Each section focuses on practical adjustments you can make on a typical FDM machine without expensive upgrades.
Start with material choice because it dictates many settings and design decisions. PLA is the easiest to print, offers crisp details and low warping, and is ideal for non-load-bearing parts and prototypes. PETG gives better toughness and heat resistance than PLA, bonds well between layers and resists impact, so use it for motor mounts and structural brackets. TPU and other flexible filaments absorb shocks and make great bumpers or grips, but they need slow feed speeds, larger retraction if at all, and a bowden-friendly filament path or direct drive to avoid jams. Match your nozzle temperature, bed temperature and cooling fan to each material for best results.
Tuning your slicer is the fastest way to improve print quality without hardware changes, and small tweaks add up. Use a 0.2mm to 0.28mm layer height for a good balance of strength and speed, and increase wall line count rather than just infill percentage to improve part stiffness. Calibrate extrusion multiplier and measure a printed cube to eliminate gaps or over-extrusion. Retraction settings are critical for stringing; reduce distance and increase speed for direct-drive setups, and do the opposite for bowden systems. Slow down bridging and outer wall speeds, and experiment with coasting and combing options to reduce blobs. Finally, tune print cooling: PLA benefits from strong part cooling while PETG often needs less fan to improve layer adhesion.
When you design for strength, think of the part as a structure rather than a shape and orient it for load paths. Give fasteners proper bosses with ≥2mm wall thickness and consider metal inserts or heat-set nuts for repeated assembly cycles. Use fillets at internal corners to spread stress and avoid sharp re-entrant corners which create stress concentrators. For parts that carry shear loads, print with the layer lines aligned to the main load if possible, and increase the number of perimeters rather than only ramping up infill. Use 50–100% infill sparingly in small load-bearing components, and choose grid or gyroid patterns where compression and shear are both present.
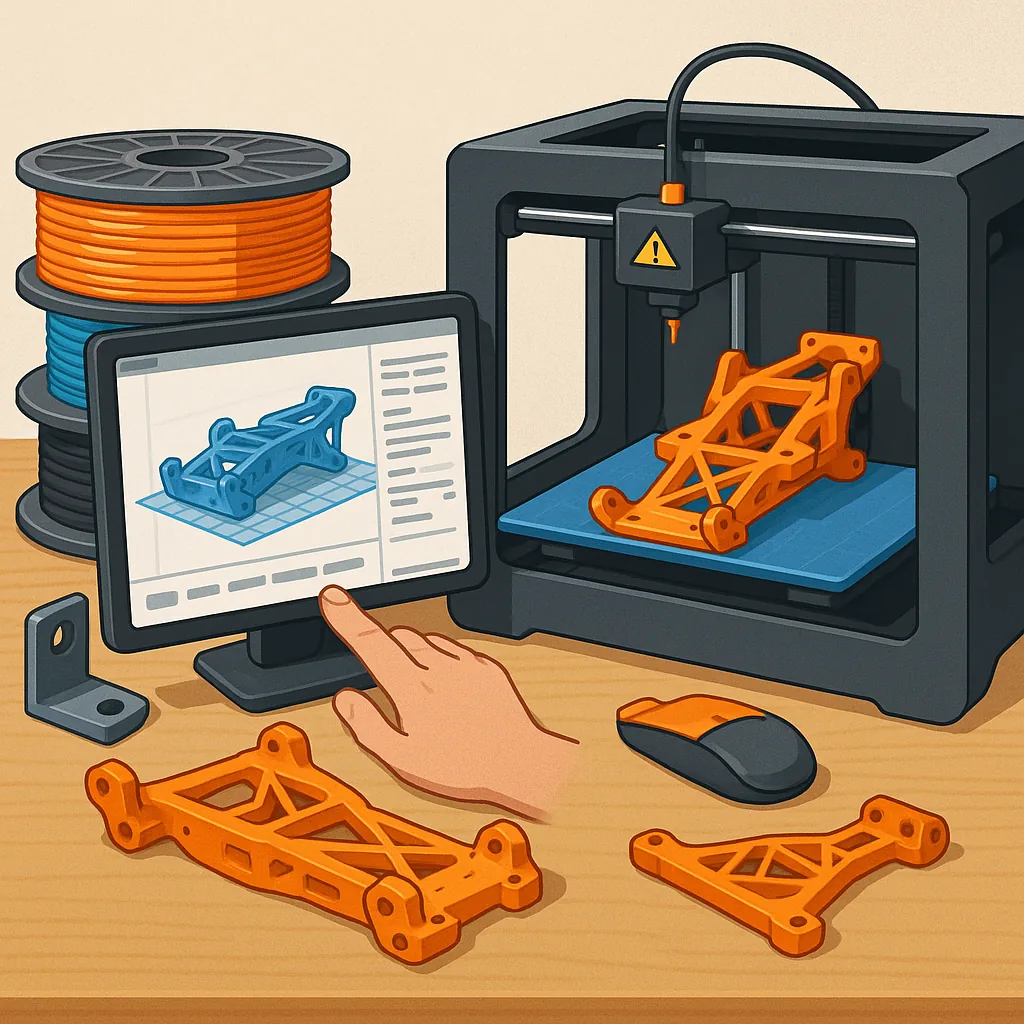
RC parts need a balance of light weight, impact resistance and dimensional accuracy, so select materials and print parameters accordingly. PETG is a solid choice for flight or drive train mounts as it resists brittle failure and handles moderate heat, while TPU is excellent for motor mounts and bumpers to soak up crashes. Design snap-fit joints with generous tolerances and incorporate sacrificial weak points where you prefer a part to break rather than damage a frame. Reinforce thin arms or levers with higher perimeter counts, and consider printing critical parts upright or in multiple orientations to ensure that layer direction aligns with the expected force vectors.
Post-processing and routine maintenance extend both print life and part performance, and simple fixes often solve recurring problems. Sanding and smoothing can remove stress risers, and cyanoacrylate or two-part epoxy work well to bond PLA and PETG for assemblies that need extra stiffness. Annealing PETG can improve thermal resistance and crystallinity, but test on scrap pieces as heat treatment can alter dimensions. Keep your hot end and nozzle clean, check belt tension and calibrate steps per millimetre regularly, and if you want project-specific guides or downloadable parts, visit my site at watdafeck.uk for examples and build notes.
Follow me on: Facebook: https://www.facebook.com/watdafeck3d · Instagram: https://www.instagram.com/watdafeck3d/.
Comments
Post a Comment