RC Lighting Systems: A Safety Overview for Hobbyists
Lighting is one of the most useful upgrades you can add to an RC model, but it brings real safety responsibilities that many hobbyists overlook.
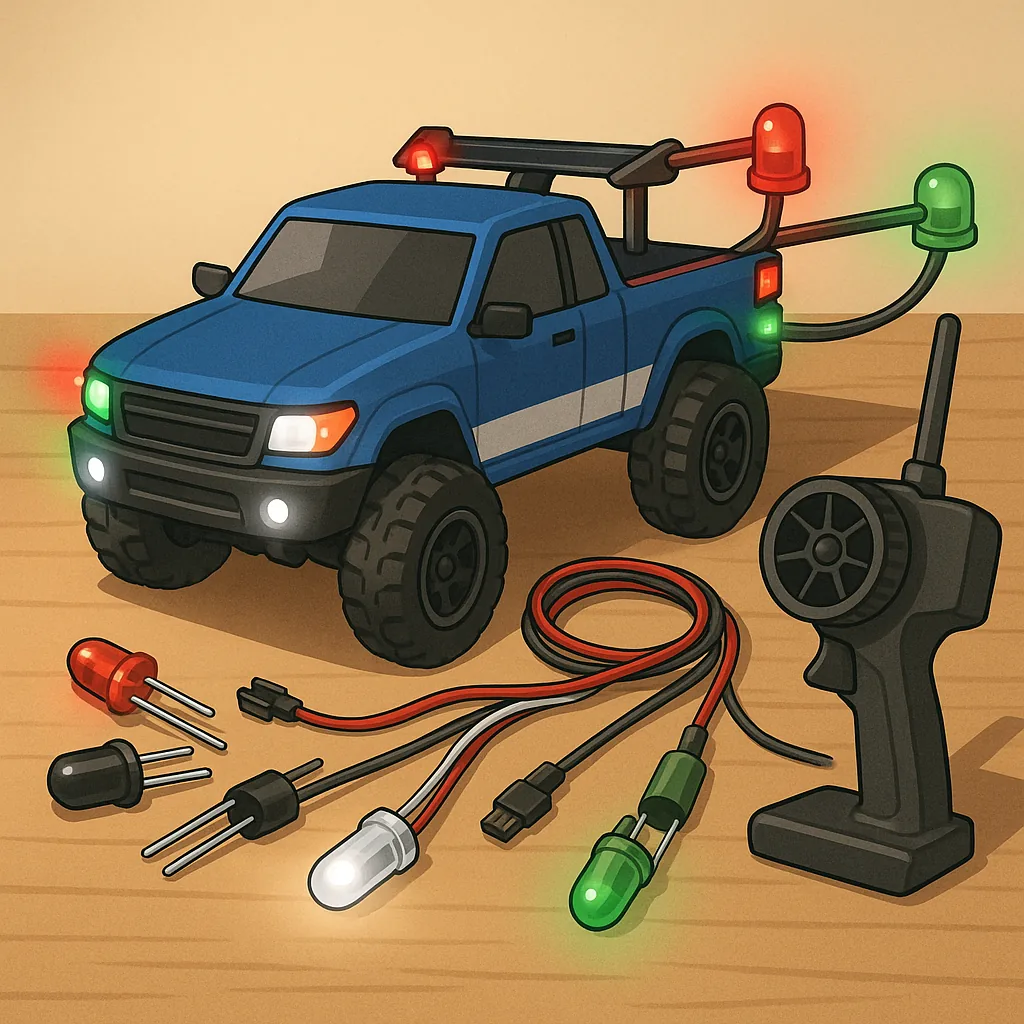
Navigation LEDs are intended to make your craft visible and to indicate orientation, and standard practice borrows from full‑size boating and aviation with a red light to port, a green light to starboard and a white light to the rear or masthead where applicable.
Addressable LED strips such as WS2812 and APA102 are popular for effects, but they demand attention to electrical detail because each LED can draw significant current at full white and because data lines are sensitive to signal integrity and voltage levels, so use short data runs and level shifting where necessary and consider practical wiring and heat management, and if you want step‑by‑step guides and parts lists, see WatDaFeck.
Night flying or night running introduces additional hazards, including reduced depth perception and the possibility of dazzling pilots, neighbours or wildlife, and you must check local regulations about permitted light types and visible intensity while ensuring lights are aimed and diffused to aid orientation rather than blind observers.
Power budgeting is critical because LED loads add up quickly, so calculate expected current draw by summing each device at maximum brightness, convert to amperes and plan battery capacity with a healthy margin, for example a 30‑LED strip at 60mA per LED can draw up to 1.8A at 5V, so factor in controllers and other systems and choose regulators and fuses that can cope with both steady and inrush currents to avoid brownout or thermal stress.
Practical safety tips include using separate fused rails or a distribution board for high‑current LED runs, putting a decoupling capacitor near long strips to smooth voltage spikes, keeping data wires away from high‑current traces, testing setups on the bench before first flight or float, and marking wiring so that maintenance is straightforward and reliable.
- Confirm colour and placement against local rules before installing the navigation lights.
- Always size batteries and fuses to the measured peak draw plus a 20 to 30 per cent safety margin.
- Insulate and strain‑relief outdoor or marine installations to prevent shorts and water ingress.
- Use a proper level shifter and series resistor on the data line for addressable LEDs to protect the first LED from spikes.
- Practice a bench power‑up checklist and use a smoke stop or inline fuse for initial testing.
Taking the time to plan LED colour, placement, wiring and power will keep your model compliant, increase safety for everyone around you and extend component life, and a few simple tools such as a clamp meter, multimeter and test harness will save hours of troubleshooting on site.
Follow me on: Facebook: https://www.facebook.com/watdafeck3d · Instagram: https://www.instagram.com/watdafeck3d/.
Comments
Post a Comment