Solar power for RC: practical tips and tricks for hobbyists.
Solar power can be a game-changer for RC hobbyists who want longer flights or extended loiter time for FPV aeroplanes and boats, and this guide covers the pragmatic bits that actually make a difference on the workbench and in the field. Start by understanding the realistic output you can expect from small panels in the positions you can mount on a model, and be honest about the extra weight and drag they introduce. Focus on optimising the whole system—cells, controller, battery and airframe—instead of chasing headline numbers from panels that only perform under ideal lab conditions.
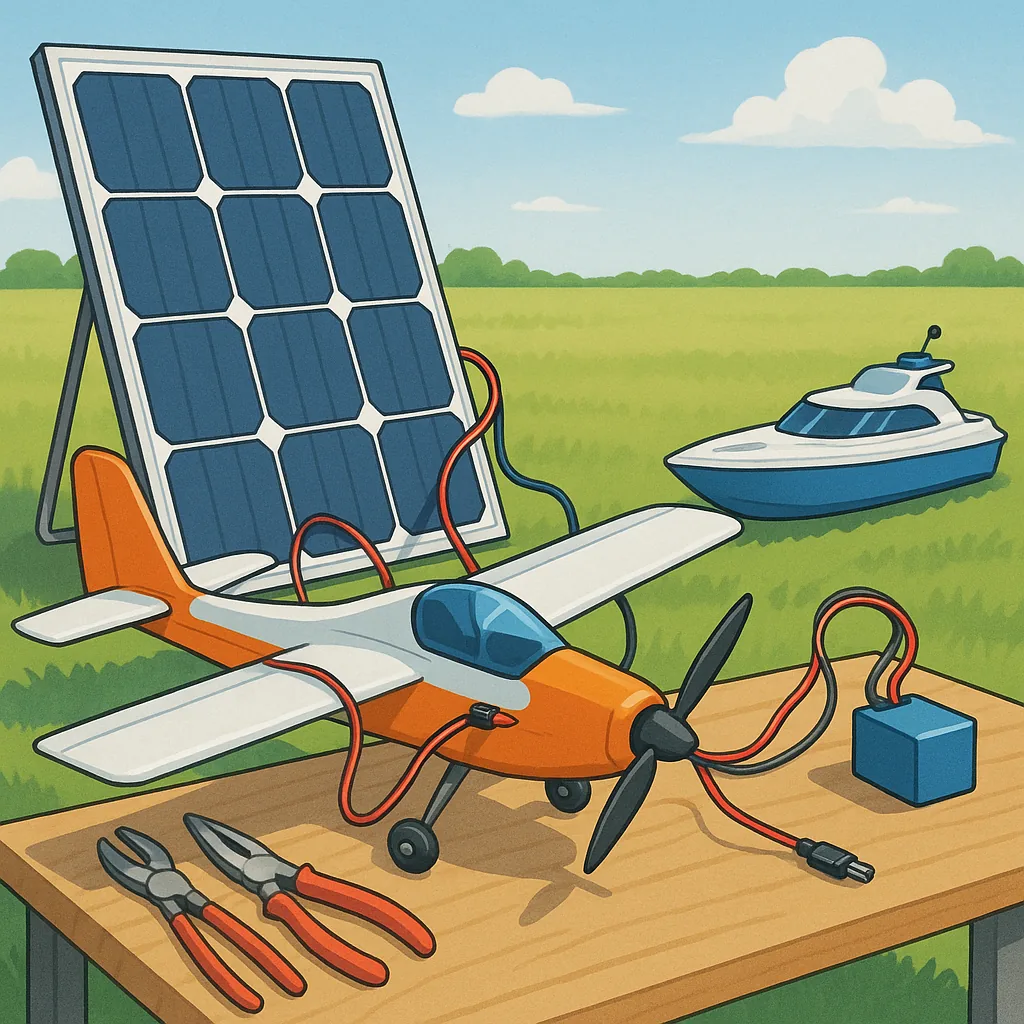
Choosing the right solar cells is about balance between efficiency, weight and form factor, and flexible thin-film cells or high-efficiency monocrystalline cells are common choices for models. Flexible cells laminate well to curved surfaces and reduce aerodynamic penalties, while rigid monocrystalline cells give better watts-per-area and can be used on stable wing surfaces when weight can be justified. Measure Vmp and Imp from the vendor and match them to your battery voltage and expected sunlight; avoid putting cells in series that create an awkward voltage for your charge electronics without reason. Protect arrays with blocking diodes and consider parallel strings to reduce the effect of partial shading.
MPPT controllers are the single most useful upgrade for solar charging on small RC projects, because they extract more usable energy from panels as light conditions change, and a cheap MPPT can outperform a larger panel paired with a simple diode charger. Look for low-power MPPTs designed for 1–10 amp ranges with low standby consumption and wide input windows, and remember that MPPT converts available panel power into current for the battery so it behaves differently from a voltage regulator. If you prefer DIY, follow safe charging profiles for LiPo chemistry and include a proper charge management stage rather than trying to trickle-charge a pack directly from a panel, and if you want build logs and examples check my site WatDaFeck.
Endurance builds benefit from reducing power draw as much as adding harvestable energy, so go for aerodynamic cleanliness, efficient brushless motors and carefully chosen propellers to reduce cruise current. Use solar as an extender rather than the primary power source in most cases, topping up the battery during cruise or climb rather than trying to run the whole system directly from panels. Place cells to maintain the centre of gravity and avoid high-heat zones near electronics, and consider modular arrays that can be removed for transit or replaced in the field to tune your setup for different conditions.
Long-range and cross-country projects demand robust energy budgeting and conservative planning, because signal loss and unexpected cloud cover are real risks for flights away from home. Calculate your cruise watts at the intended speed and altitude, then compare that with the realistic average output of your panels for the daylight window you expect, and plan reserves for contingencies. Use telemetry to monitor battery and solar input in real time, and consider fail-safe modes that reduce power draw or switch to a glide profile if energy falls below safe thresholds while you bring the aircraft back.
Practical tips to take away include: pick cells with the best watts-per-gram for your airframe, match panel Vmp to your battery and MPPT window, use a low-loss blocking diode or ideal diode arrangement to prevent discharge at night, fit a small fuse or PTC for protection, test charge behaviour on the bench with a sun simulator or in full sun before a maiden flight, and log telemetry so you can iterate on the next build. Small changes in prop selection, airspeed and panel placement often give bigger endurance gains than simply adding more surface area, so measure and iterate rather than guessing.
Follow me on: Facebook: https://www.facebook.com/watdafeck3d · Instagram: https://www.instagram.com/watdafeck3d/.
Comments
Post a Comment