Troubleshooting Metalwork for RC: Aluminium, Steel, Brackets and Lightweight Structures
Working with metal for radio control models is rewarding but it brings a steady stream of small failures to diagnose and fix, especially when weight and strength are in tension with each other. This guide walks through practical troubleshooting steps for common problems in aluminium and steel parts, and gives clear fixes for brackets and lightweight structures. It is aimed at hobbyists who want to diagnose failures, decide whether to repair or replace, and improve designs to avoid repeat problems.
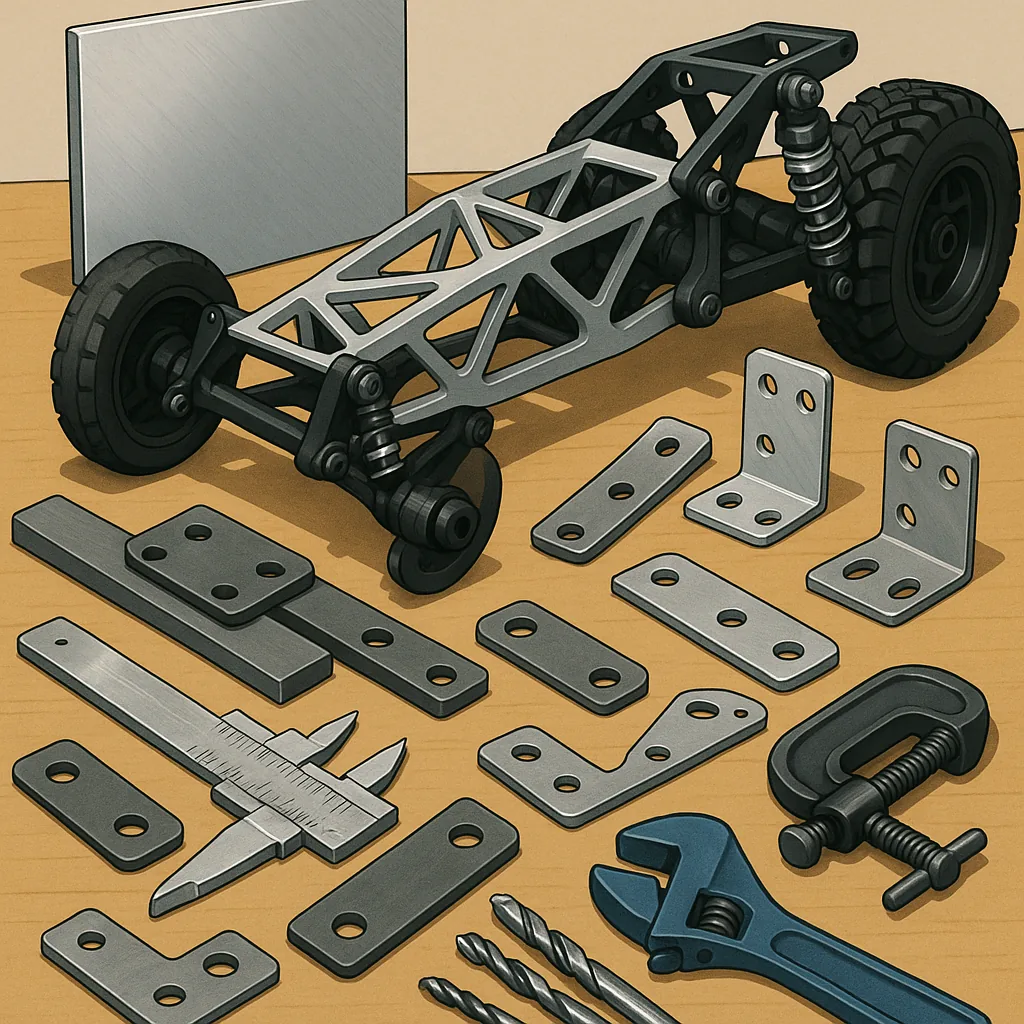
Start every fault-finding session with a careful visual and tactile inspection, looking for cracks, fretting, corrosion, loose fasteners, stripped threads and deformation. Measure critical dimensions with calipers to detect permanent set and compare against a known-good part where possible. Check fasteners for missing lockwashers or under-torqued nuts and verify bearing fits for play or seizure. For worked examples and downloadable templates that illustrate these fixes, see my workshop pages at WatDaFeck. A methodical checklist prevents chasing symptoms instead of underlying causes.
Aluminium parts are popular because they keep weight down, but they have particular failure modes that require attention. Fatigue cracks often start at sharp corners, drilled holes or countersinks, so deburr edges and add small radii where possible to reduce stress concentration. Remember that 6061 is forgiving and weldable, while 7075 is much stronger but difficult to weld and more likely to crack if overheated or improperly drilled. Anodising helps corrosion resistance but can hide cracks, so inspect under adequate light. When threads in thin aluminium strip, use rivnuts or threaded inserts rather than oversize bolts to restore reliable fastening and regain clamping strength.
Steel offers excellent strength and wear resistance for motor mounts, linkages and hardware, but it can introduce weight and galvanic conflict with aluminium parts. Isolate dissimilar metals with paint, nylon washers or adhesive tape to prevent galvanic corrosion, and choose stainless steel when corrosion resistance is paramount, keeping in mind that some stainless grades gall and seize in threaded applications without lubrication. Welding steel is generally easier than aluminium and suits thicker parts, but heat can distort lightweight assemblies, so tack first and relieve stresses before final welding. Spring steel and hardened linkages are best used where repeated flexing occurs to avoid permanent deformation.
Brackets and lightweight structures must balance stiffness, strength and mass, and many failures come down to poor geometry rather than material choice. Use triangulation and gussets to move from single-bolt cantilevers to triangular load paths that spread stress, and add small fillets or rounded corners to all internal angles. If you add lightening holes, keep the edge distance to any fastener or high-stress region large enough to maintain a safety margin. For fastenings, use appropriate washers and torque values, and prefer locknuts, threadlockers or safety wire on critical fastenings to avoid loosening under vibration. Simple design tweaks can double fatigue life without significant mass penalty.
When repairing, choose the method that restores original strength and avoids creating new weak points. Small cracks in aluminium can be repaired by sleeving with an alloy tube and adhesive, or by replacing the damaged bracket with a slightly thicker plate and improved geometry, while stripped threads respond well to helicoils or rivnuts rather than repeated retapping. Steel parts that suffer local damage can often be rebuilt by welding and grinding, then re-drilled and re-tapped, whereas components with repeated fatigue should be redesigned and replaced. After any repair, run a staged test under increasing load and inspect again for signs of recurring distress before returning the part to normal service.
Follow me on: Facebook: https://www.facebook.com/watdafeck3d · Instagram: https://www.instagram.com/watdafeck3d/.
Comments
Post a Comment