Cinelifter Project Ideas for Hobbyists: Cameras, Vibration Control, ND Filters and Flight Planning
Building a cinelifter for hobby use is a rewarding project that sits between lightweight aerial photography and full-on professional cinema rigs, and this roundup offers practical ideas to get you started on a trustworthy platform for smooth, cinematic shots.
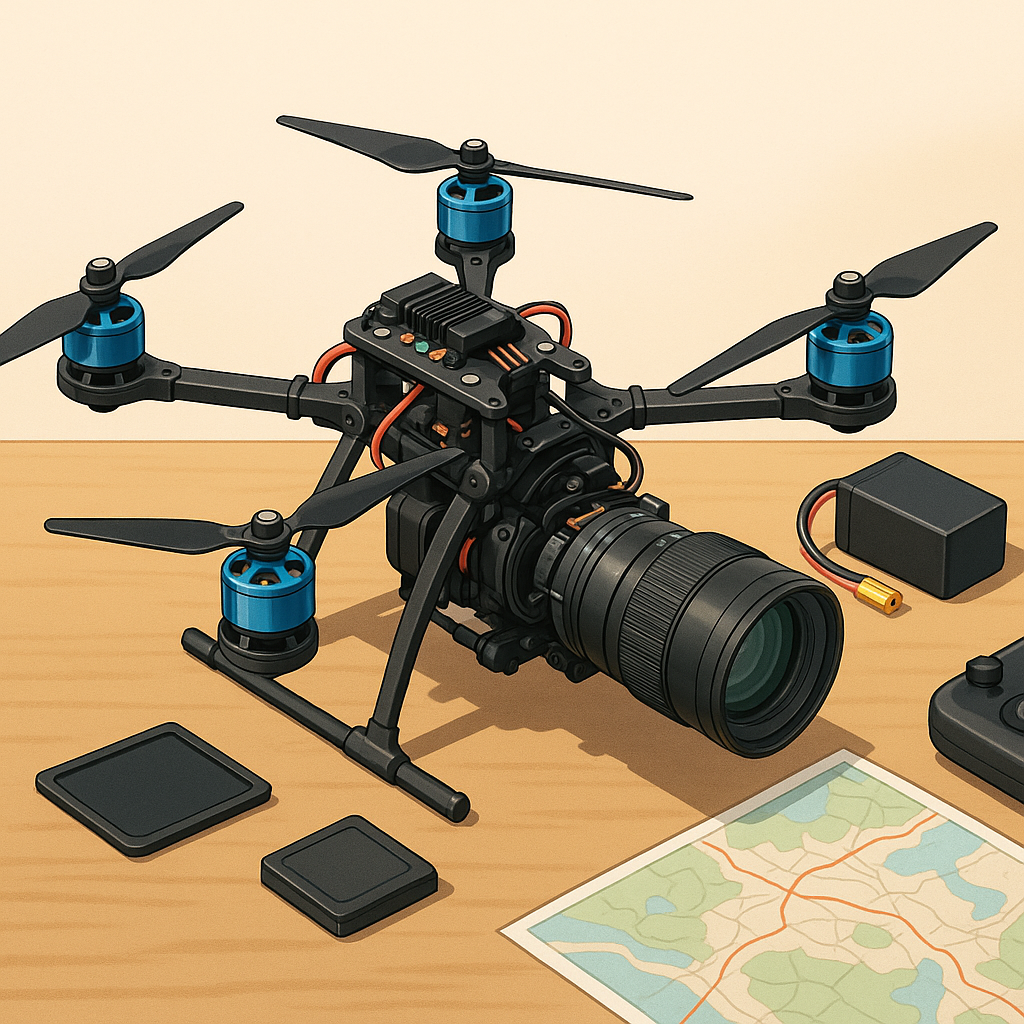
Start by thinking carefully about camera loads because selection determines frame, motor choice and power budget, and common options for hobbyists include action cameras, compact mirrorless cameras and lightweight cinema cameras that sit in the 200 to 1200 gram range depending on your frame and motors; match the camera to a gimbal that can handle the dynamic loads, and consider modular mounting plates so you can swap a GoPro for a Sony A7 session quickly. If you need parts or printable mounts for quick prototyping, have a look at the project hub at WatDaFeck for examples and component lists.
Vibration control is one of the most critical areas for cinelifters because camera shake ruins otherwise perfect footage, and the first steps are mechanical: balance props precisely, ensure motors are in spec and use an isolation stage between the airframe and the gimbal that combines soft mounts with a stiff platform to avoid low-frequency sway. Consider layered approaches such as motor balancing, tuned propellers, silicon or sorbothane soft mounts, a dedicated isolation plate and then fine-tune the gimbal PID or damping settings to remove remaining mid-frequency noise, and validate your setup by logging accelerometer data on a test hover before any filming mission.
ND filters will often be the unsung hero of cinematic aerial footage because they allow you to keep shutter speeds appropriate for your frame rate while shooting in bright conditions, and picking the right ND set can be as simple as ND8 and ND16 for cloudy to moderately bright days with an ND32 or ND64 for full sun. Avoid stacking heavy filters unless you understand colour shifts and vignetting on your lens, and use variable ND carefully because some cheap varieties introduce uneven density at wide apertures; when possible, set shutter to achieve the 180-degree rule and adjust ISO and ND to taste for the smooth motion look.
Flight planning makes the difference between a sequence that looks like it was shot by accident and one that reads like a scene, and you should plan speed, acceleration and waypoints to match the visual intent while accounting for wind and local restrictions. Use repeatable waypoint missions for complex moves, programme gentle ramps to reduce sudden gimbal corrections, scout launch and recovery points for stable take-off and landing, and always perform a dry-run at reduced altitude to check for prop wash, turbulence from nearby objects and GPS reliability before committing to the final take.
For hands-on project ideas, try one of the following concepts to expand your skills and kit:
- Build a lightweight mirrorless cinelifter on a foldable carbon frame to test payload limits and portability.
- Design a modular camera bay with quick-release power and video connectors to swap cameras between flights.
- Experiment with vibration dampers by isolating the gimbal on different materials and measuring the result with a smartphone accelerometer.
- Create a variable ND slider mount and test exposure stacking to deal with changing light in long takes.
- Develop a waypoint shot library for your favourite local spots with pre-sets for altitude, speed and gimbal angles.
- Set up a dual-operator workflow where one pilot handles flight and another controls the gimbal and camera for complex moves.
Follow me on: Facebook: https://www.facebook.com/watdafeck3d · Instagram: https://www.instagram.com/watdafeck3d/.
Comments
Post a Comment