Step-by-step RC plane build log: foam trainers to FPV wing and VTOL with ELRS and LiPo power.
This build log follows a single project from a simple foam trainer to an FPV wing and finally a tailsitter-style VTOL, with the electronics thread of ExpressLRS, modern flight controllers and lithium batteries running through every step.
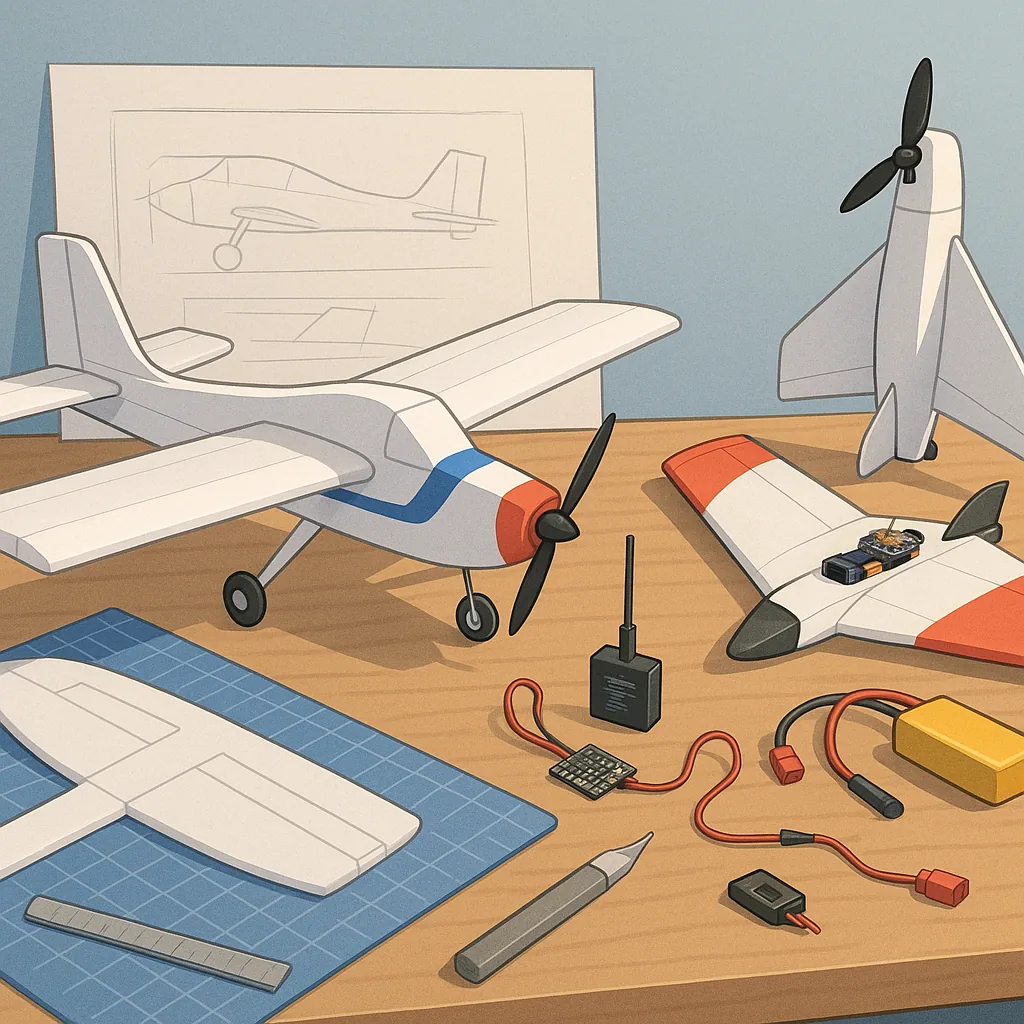
Step 1 was planning and cutting the foam trainer airframe, using 6mm Depron for the flying surfaces and a strip of EPP for impact resistance in the fuselage nose, and reinforcing the wing with a 6mm carbon spar glued into a hot-wire bevel and bonded with foam-safe CA and epoxy for the motor mount area.
Step 2 covered the basic assembly and first powertrain fitment, fitting a 2206/2300KV outrunner and a 30A ESC for 3S or 4S setups depending on prop/flight time needs, and balancing the completed airframe so the centre of gravity sits roughly at 25 to 33 per cent of the chord before installing servos and radio gear.
Step 3 was the FPV wing conversion where I cut out an internal camera pod, mounted a micro FHD camera and a 25 to 200mW adjustable VTX behind a clear nose hatch, routed the antenna to avoid interference with telemetry and fitted elevons with a mixer-capable flight controller to keep control surfaces light and precise.
Step 4 moved on to the VTOL conversion as a tailsitter: I added two vertical lift motors on reinforced nose mounts and retained a rear pusher for cruise, upgraded ESCs to four 40A units with D-shot and BLHeli_32 compatibility, and chose a flight controller that supports VTOL modes such as a Pixhawk-class stack for ArduPilot or an INAV-capable board for simpler tailsitter mixing, ensuring all thrust lines were aligned and that control authority remained adequate in hover and transition phases.
Step 5 addressed radio, telemetry and batteries where I fitted an ExpressLRS receiver for low latency control using the CRSF protocol, set up telemetry back to the transmitter and chose LiPo packs matched to the mission: 2200 to 3300mAh 4S high-discharge cells for FPV hops and 4000 to 5000mAh 4S packs for VTOL endurance, always charging with a quality balance charger, observing storage voltages and housing batteries in a reinforced bay with a hatch for quick swaps, and for more photos and build files you can visit my project page at WatDaFeck for extra reference materials.
Step 6 summarised testing and tuning where ground thrust tests, centre of gravity tweaks, failsafe and range checks were done before first flights, PID and rate tuning carried over several short flights, and lessons learned included reinforcing the motor mounts against torque, relocating antennas for better signal, and evolving the foam trainer into a reliable FPV and VTOL platform with safe lithium battery practices.
Follow me on: Facebook: https://www.facebook.com/watdafeck3d · Instagram: https://www.instagram.com/watdafeck3d/.
Comments
Post a Comment