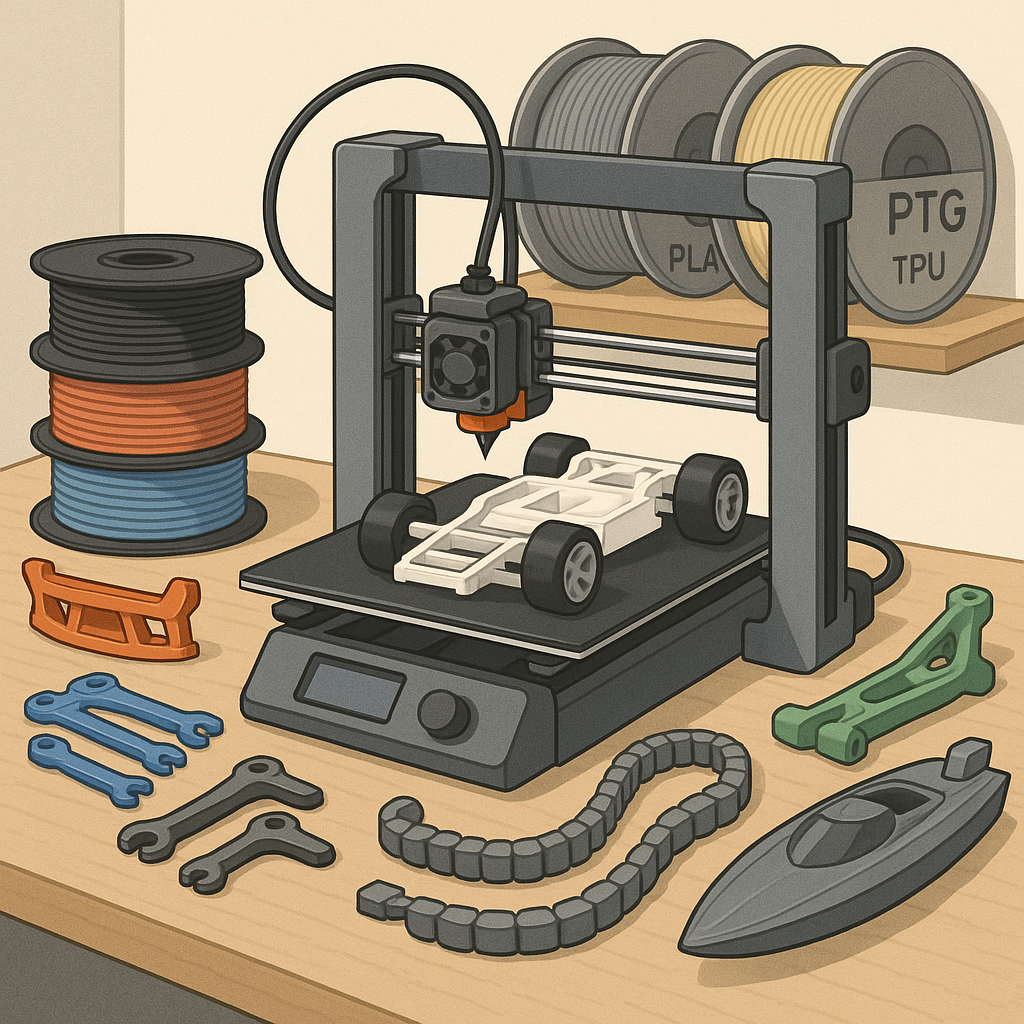
3D Printing Tips and Tricks for Hobbyists: PLA, PETG, TPU and RC Parts
Getting reliable prints for projects and RC parts comes down to three things: the right material, tuned slicer settings, and sensible design for strength and fitment. This guide collects practical tips for hobbyists who work with PLA, PETG and TPU, and who need parts that survive real-world use on model cars and boats. Follow each section and test one change at a time to see measurable improvement in your prints.
Choose PLA for ease and detail, PETG for a balance of strength and temperature resistance, and TPU for flexible bumpers or vibration mounts. With PLA you can run lower temperatures, faster cooling and fine layer heights for crisp detail. PETG benefits from slightly higher nozzle temperature, less aggressive cooling and extra perimeter walls to avoid layer delamination. TPU needs slow print speeds, plenty of retraction tuning and a direct drive or short Bowden path to avoid filament buckling under compression.
- PLA tip: print at 190–220°C with 20–40% part cooling and a solid first layer to avoid warping.
- PETG tip: print at 230–250°C with minimal cooling on outer layers and enable coasting or slight retraction to reduce stringing.
- TPU tip: print at 200–230°C with speeds under 30 mm/s and increase perimeter count to give flexible parts extra durability.
Slicer tuning is where most hobbyists get the best returns for their time, so learn your slicer profiles well and keep a small library of tuned presets. Calibrate E-steps and flow multiplier, run a temperature tower for each filament spool, and use simple test prints such as overhangs, bridging and retraction towers to dial in settings. Adjust layer height to balance detail and strength, use at least two or three perimeters for load-bearing parts, and experiment with combing, coasting and wipe options to reduce stringing on PETG and TPU.
When printing structural parts, think like an engineer and orient the part so the forces align with the layers and perimeters that carry the load. Place critical screw bosses and thin tabs so they are printed with filaments laying along the stress direction, add fillets at corners to avoid stress concentrations, and favour triangular or gyroid infill for energy absorption in RC chassis pieces. Consider printing mating surfaces flat for accurate bolt holes and use printed-in nuts or small captive nuts where possible to reduce assembly complexity.
For RC-specific advice, make mounting points oversized by 0.1 to 0.3 mm and test-fit hardware before final assembly to account for your printer's dimensional quirks. Use PETG or ASA for parts exposed to heat from motor bays and sunlight, and TPU for bumpers, shock boots and vibration isolation. If you need threaded inserts, heat-set brass inserts work well in PLA and PETG, while oversized bolts and nyloc nuts are a reliable alternative when printing small batches of parts is faster than installing many inserts.
Workflows that minimise frustration include a simple checklist: clean bed, correct nozzle size, fresh filament path, first-layer calibration, and a quick visual of the sliced layers before printing. Keep a small test tower for each filament profile, store spools in airtight containers with desiccant, and log successful slicer settings as presets so you can repeat results without guesswork. For more project examples and downloadable models that demonstrate these ideas, check the WatDaFeck blog at https://watdafeck.uk for practical builds and step-by-step write-ups.
Follow me on: Facebook: https://www.facebook.com/watdafeck3d · Instagram: https://www.instagram.com/watdafeck3d/.
Comments
Post a Comment