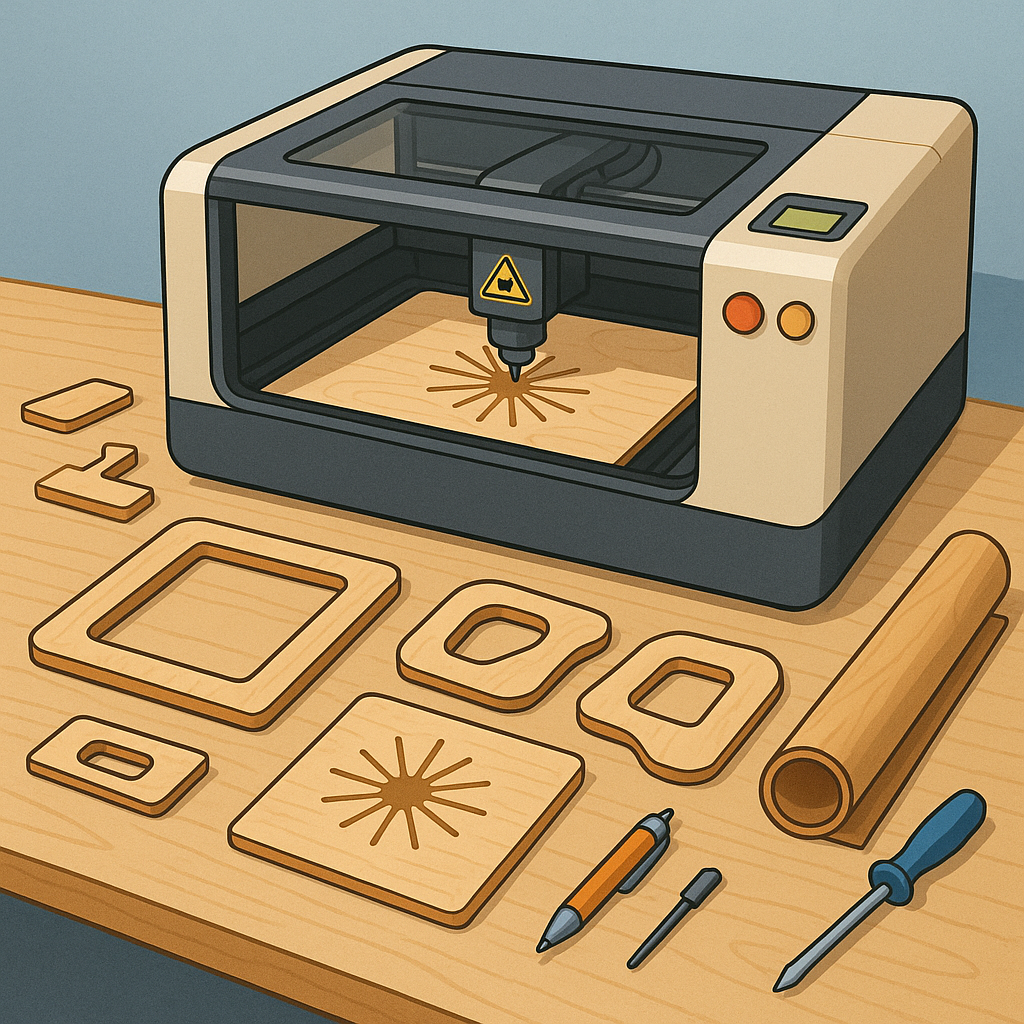
Beginner's Guide to Laser Cutting: Plywood Frames, Formers, Templates and Engraving
Laser cutters are an accessible and rewarding tool for hobbyists who want to move from hand tools to digital fabrication, and the learning curve is kinder than it first appears for beginners who focus on simple plywood frames, formers and templates as entry projects.
Before you start, learn the basics of your machine including bed size, laser power and collimation, and the difference between CO2 and fibre units, and always set up good ventilation and a fire extinguisher nearby for safe practise.
Plywood is the favoured material for frames and formers because it is stable, affordable and easy to glue, and you should pick the right grade and thickness for your project with 3mm and 4mm common for small models and up to 6mm or 9mm for stronger structural parts.
When designing formers for boats, RC fuselages or picture frames, pay attention to grain direction, ply voids and how parts will be joined, and consider nesting multiple formers on a single sheet to reduce waste and improve consistency when you cut several items at once.
Templates and CAD files are where laser cutting really shines; use vector formats such as SVG or DXF, set cut lines to hairline stroke and use kerf compensation if tight joints are required, and always run a small test cut to validate fit before committing to expensive or long runs.
Engraving adds surface detail to plywood frames and templates through raster or vector engraving, and by adjusting speed, power and resolution you can produce dark contrast or subtle shading, and for more complex images try dithering or halftone techniques and mask surfaces to prevent scorching when finishing afterwards; if you need downloadable templates or step‑by‑step guides, you can find a selection of free files on my site at watdafeck.uk.
Workflow matters: design in your CAD tool, export a vector file, nest parts to use material efficiently, test cut on scrap, then cut the final piece, clean edges with a light sand and assemble with appropriate adhesive and finishes for a tidy result.
Follow me on: Facebook: https://www.facebook.com/watdafeck3d · Instagram: https://www.instagram.com/watdafeck3d/.
Comments
Post a Comment