Building a Hobbyist Hotwire CNC for Foam Wing Cores: A Step-by-Step Log.
I started this project to make accurate wing cores and repeatable templates without the faff of carving by hand, and the result was a simple hotwire CNC that suits model aircraft and RC boat builders alike.
Before cutting a single piece of foam I sketched the workflow and gathered parts, because a clear plan saves time and material during the build. I kept reference files and printable templates on my blog at watdafeck.uk for anyone who wants to follow this build and grab starter files. For a compact hobby CNC you need a rigid bed, a gantry that resists twist, stepper motors with drivers, an Arduino or controller running GRBL, an adjustable DC supply and a robust hotwire head with a tensioning system.
- Frame: aluminium extrusion or MDF with cross-bracing and a spoil board for clamping.
- Motion: NEMA 17 steppers, 8mm lead screws or belts, endstops and bearings.
- Electronics: Arduino/GRBL, stepper drivers, MOSFET for hotwire PWM, 12–24 V DC supply.
- Hotwire: stainless steel piano wire or nichrome, ceramic anchors and a tensioner made from bolts.
- Materials: XPS or EPS foam blocks, PVA or contact adhesive for cores, sandpaper and filler for finishing.
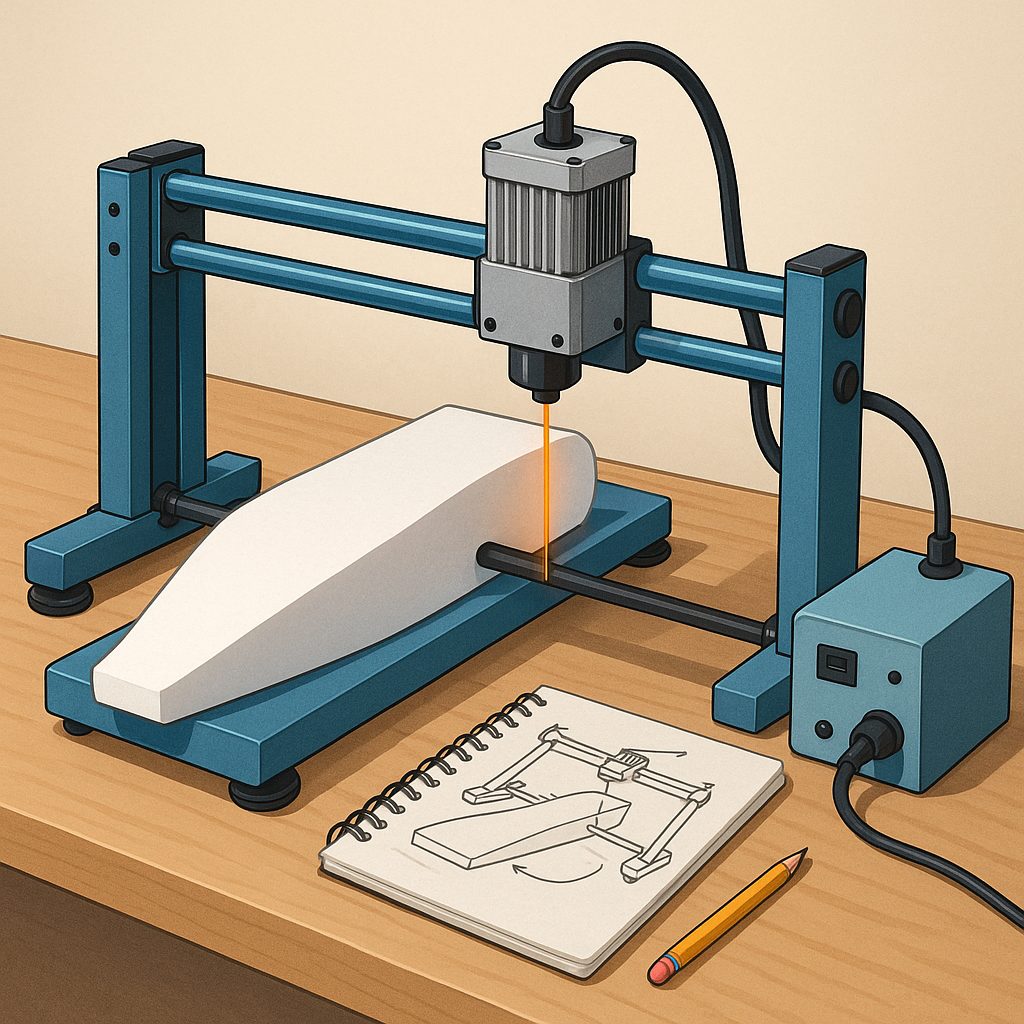
I constructed the bed from 18 mm MDF and used aluminium angle to square the gantry, which keeps costs down and makes adjustments straightforward. The hotwire carriage is a simple aluminium plate hanging from linear rails, and I made a turnbuckle-style tensioner from a length of threaded rod and two clevises so the wire remains taut and square to the table during cuts.
The electronics are deliberately basic for reliability, and I used an Arduino Nano with GRBL to drive the steppers plus a MOSFET controlled from a spindle PWM pin to heat the wire. For safety I fitted a fused isolation switch and an emergency stop pushed through the controller so the wire power is cut immediately if something goes wrong, and I mount the power supply well away from foam dust to avoid hotspots.
For airfoil generation I use Profili to export coordinate tables, then convert those into g-code either by a simple Python script or a CAM plugin that generates vertical slices if you plan to cut individual ribs. I experimented with two methods: cutting discrete rib templates to glue into a full wing core, and cutting the whole 3D shape by moving the gantry in two axes while the wire remains fixed in length. The rib method is forgiving for beginners and gives perfect templates for future projects, while full 3D cutting is faster once your machine and CAM are dialled in.
Cutting technique matters more than power, because too-hot wire causes greasy melts and too-cool wire tears the foam. My workflow is to secure the block on a sacrificial board, run slow test passes to set feed rates, and make a finished cut at a steady feed while watching for bulges in the wire. After cutting I glue panels for a wing core with PVA, fill the joins with low-density filler, and refine the shape with longboard sandpaper and a sanding block to preserve the designed airfoil shape.
Follow me on: Facebook: https://www.facebook.com/watdafeck3d · Instagram: https://www.instagram.com/watdafeck3d/.
Comments
Post a Comment