CAD Project Ideas for Hobbyists: Fusion 360, Onshape, Tolerances and Printing for Fit.
If you enjoy tinkering with 3D design and physical builds, this roundup collects practical CAD projects that teach skills as you make useful things, with an emphasis on Fusion 360 and Onshape workflows, tolerancing and assemblies, and tips for printing parts that actually fit together on the first try.
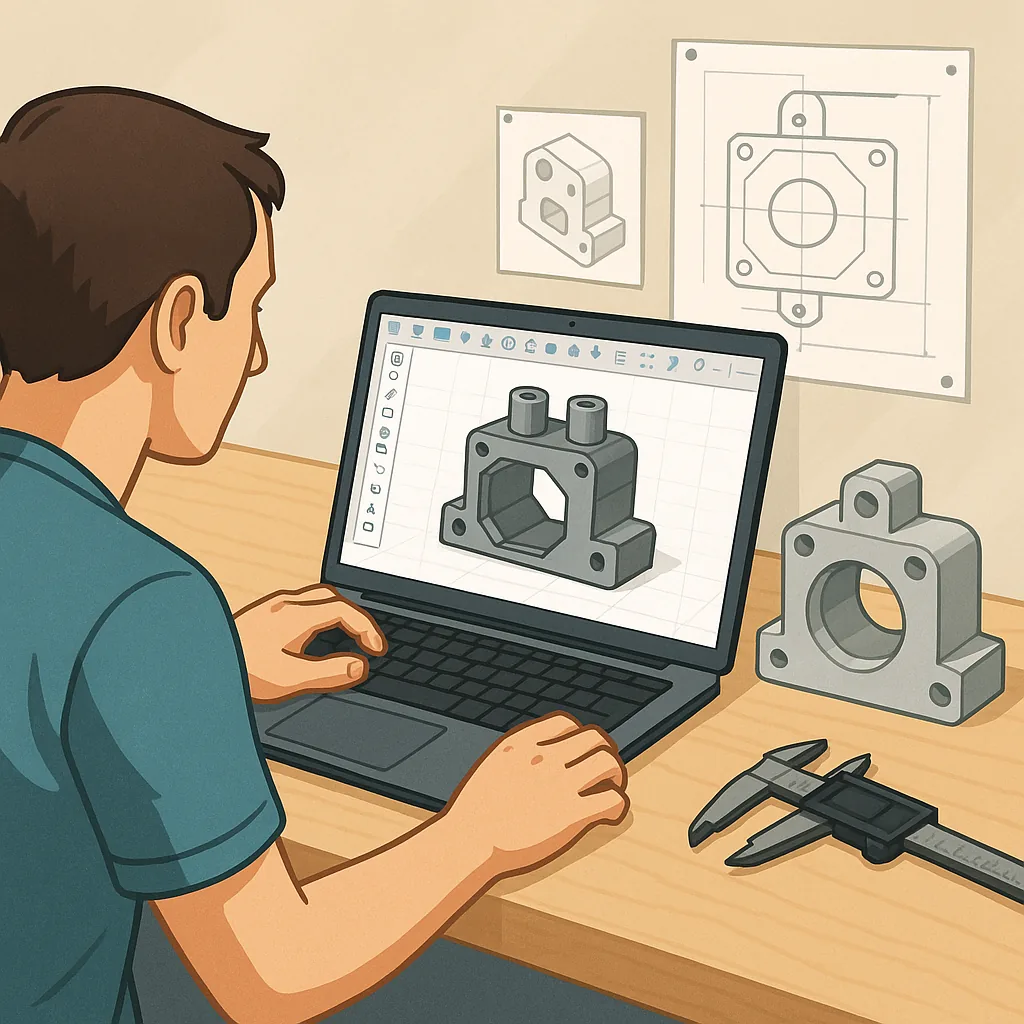
Start with parametric projects to get comfortable with the way Fusion 360 and Onshape handle history and constraints, and to see how a small dimension change ripples through an assembly, which is a powerful habit for hobbyists to learn. A good starter project is a modular tool holder where the peg and slot dimensions are driven by parameters, which you can tweak to fit different tool diameters. Onshape excels for collaborative or cloud-based work and version control, while Fusion 360 gives robust CAM and rendering tools in the same package, and both are excellent for learning assemblies and top‑down design techniques.
Tolerance testing is an essential project in itself and one that pays back immediately in smoother assemblies and fewer reprints. Design a tolerance test plate with a variety of hole sizes, press-fit pins, and sliding slots so you can print a batch at your chosen settings, measure the results and document how your printer behaves. For FDM printers, start with sliding clearances of around 0.2 to 0.5 millimetres depending on your nozzle and layer height, and create separate tests for small holes because they tend to print smaller than intended and often need reaming or drilling afterwards.
Assembly projects teach you how constraints and joints affect function, and they are great for learning snap-fits, hinges, and captive hardware. Try designing a two-part enclosure with alignment pins and captive nut pockets, a clip-on hinge with a defined rotation limit, or a small gearbox with printed spur gears and a bearing housing. Use Fusion 360’s Joint types or Onshape’s Mate connectors to simulate movement before printing, and add chamfers and lead-ins to mating features so parts assemble more easily without damaging thin walls.
Printing for fit means thinking about orientation, support, and post‑processing from the outset rather than as an afterthought, and some projects are ideal for practising these choices. Design screw bosses sized for heat-set inserts or metal threaded inserts, and include test bosses that you can use to verify insert pull-out strength. For press fits, design holes slightly smaller than the mating shaft and plan to use progressive reaming; for sliding fits allow extra clearance and consider lubrication or polishing for tight tolerances. Useful project ideas include a bearing press tool, a series of servo mounts that accept standard servo dimensions, and a small clip system that demonstrates repeatable snap-fit behaviour.
Try a few of the projects above, document the dimensions you used and the printer settings that worked best, and iterate until you have a small library of fitted parts you can reuse in future designs. If you want more project write-ups and downloadable examples to learn from, check out WatDaFeck for curated builds and practical tips that are focused on maker workflows and printing for fit.
Follow me on: Facebook: https://www.facebook.com/watdafeck3d · Instagram: https://www.instagram.com/watdafeck3d/.
Comments
Post a Comment