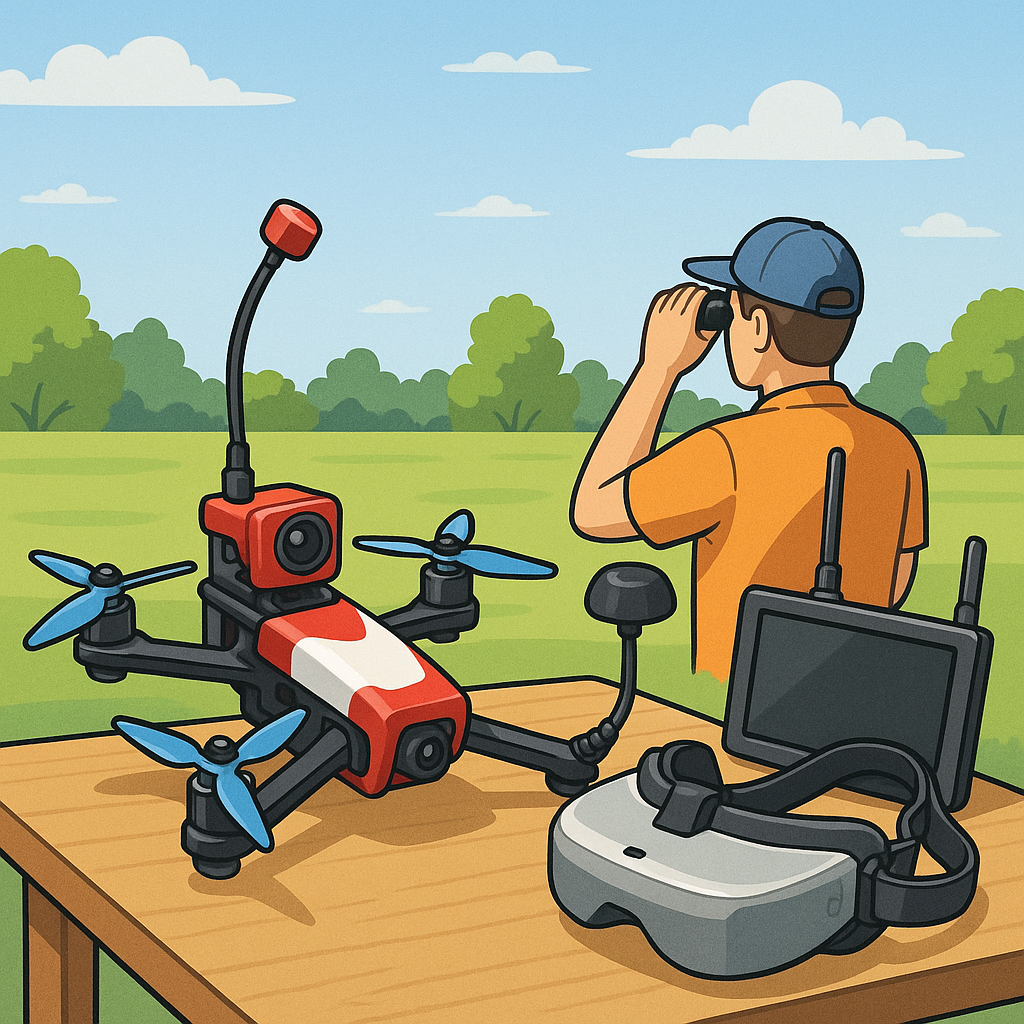
FPV Video Systems for Hobbyists — A Practical Safety Overview.
First, treat your FPV video system as both a visual aid and a radio transmitter that has safety and regulatory consequences for you and those nearby. Always check local aviation and radio regulations for permitted frequencies and maximum transmitter power, and respect local flying site rules before you fly. Use a spotter when flying beyond visual line of sight for safety and to keep you aware of bystanders and other air traffic. Keep a basic preflight checklist that includes antenna condition, VTX power setting, OSD readouts, and secure mounting of the camera and video transmitter to reduce the chance of mid‑air failures.
Choosing between analogue and digital FPV comes down to tradeoffs that affect safety in different ways. Analogue systems typically show progressive static and artefacts as signal quality drops, which can give the pilot visual cues before a complete loss of picture, whereas many digital systems provide a clean, high‑definition picture until the link fails and the image goes black. That abrupt blackout can surprise a pilot in a critical moment, so be conservative with flight envelopes when using digital systems. Also consider interference characteristics, DVR reliability, and the way each format performs in crowded RF environments around clubs or events.
VTX power is an area where hobbyists must be particularly sensible, since higher output increases range but also raises interference risks and RF exposure. Most hobby VTX units offer switchable power levels from around 25 mW up to 1 W and above, and you should select the lowest power that gives a reliable video link for the flying area. High power settings generate heat, so ensure good airflow and avoid touching the unit after a flight. Remember that using excessive power can affect other pilots and may breach local licence conditions, so verify legal limits and label your kit accordingly.
Antennas are deceptively important to safe operation because the wrong type or a loose connection can drop your signal at a dangerous moment. Match the antenna polarisation between transmitter and receiver, use an appropriate radiation pattern for your flying style, and secure connectors and pigtails to avoid tugging or bending during hard landings. Keep transmitting antennas clear of your body to reduce RF exposure and maintain line of sight where possible, and inspect antennas for cracks or exposed elements before every session. Where possible, carry a spare antenna and a small selection of pigtails to address on‑site failures promptly.
Latency matters for control and situational awareness, especially in fast flying or racing. Analogue systems traditionally offer extremely low latency, while digital systems introduce some processing delay that varies by platform and settings, though modern HD digital systems have made great improvements. Check the combined latency of camera, VTX, receiver, and goggles or monitor, and fly within a safety margin that accounts for that delay. If you rely on OSD timers or telemetry to make decisions about remaining battery, factor in latency and update rates so you do not overestimate your margins.
On‑screen displays and telemetry are vital for safe operation but only if they are properly set up and trusted appropriately. Calibrate voltage scaling so that your battery readings match a multimeter and set sensible failsafe actions for low voltage and RSSI loss. Configure the OSD to show only essential information to avoid cluttering the image, and test RTH, failsafe and loss‑of‑video behaviours on the ground before flight so you know what your aircraft will do if the link degrades. For detailed build guides and safety checklists that can help you with those settings, visit https://watdafeck.uk for more practical resources.
Follow me on: Facebook: https://www.facebook.com/watdafeck3d · Instagram: https://www.instagram.com/watdafeck3d/.
Comments
Post a Comment