Node-RED automation for hobbyists — a step-by-step build log.
I started this Node-RED project because I wanted a single, visual place to orchestrate sensors, relays and camera-based detection for my workshop, and I documented every step to make it repeatable for other hobbyists.
The first step was setting up the platform on a Raspberry Pi, installing Node-RED from the recommended script and then adding Mosquitto as the MQTT broker so devices could communicate reliably over the network.
- node-red-dashboard for front end widgets.
- node-red-contrib-image-tools for basic transforms.
- node-red-node-pi-camera or a simple exec node for captures.
- mosquitto for MQTT transport between devices and flows.
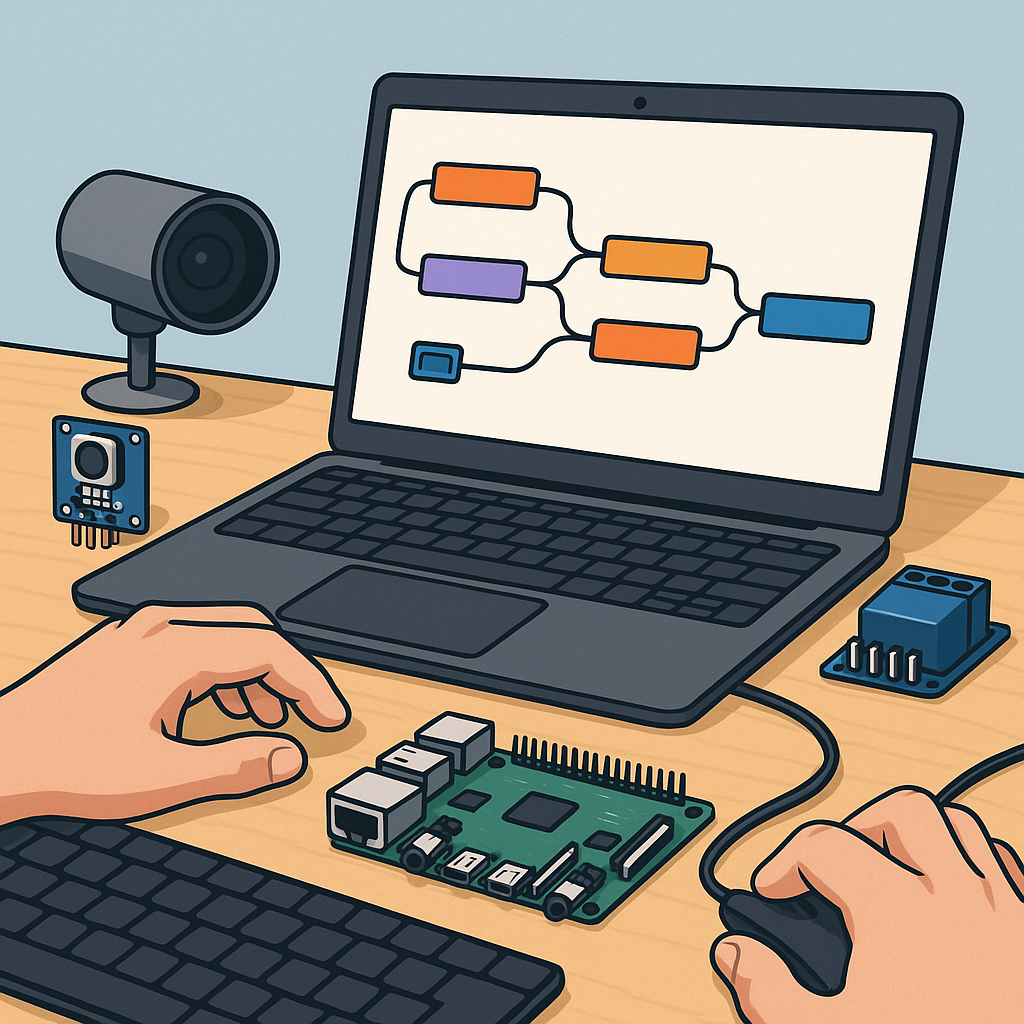
I designed the flows around clear functional blocks: acquisition, messaging, processing and display, and I used MQTT topics to decouple the pieces so each part could be tested independently.
For MQTT I used a topic structure like workshop/cam1/image, workshop/sensor/temperature and workshop/cmd/relay, and I kept messages as JSON with a timestamp to simplify debugging and to allow retained state for dashboards and new subscribers.
Image processing was the trickiest part and I split it into capture, pre-processing, analysis and result publishing, with the heavy lifting performed by a Python script using OpenCV invoked from Node-RED via an exec node and returning JSON results to a flow node for further action.
Dashboards were built with node-red-dashboard elements laid out in tabs for Cameras, Sensors and Controls, and I used image widgets for live previews, chart nodes for sensor history and ui_template for custom controls while keeping dashboards responsive and minimal for mobile use.
Flows were organised into reusable subflows for MQTT publisher/subscriber patterns, a camera capture subflow that emits base64 images, and a detection subflow that calls the external Python process and publishes events back on MQTT to trigger scripts or notifications.
Scripting inside Node-RED used lightweight JavaScript in function nodes to normalise payloads, to create command messages and to implement simple state machines, while longer logic such as model inference or complex image filters remained in external Python scripts for maintainability.
Testing and iteration involved tools like mqtt-spy, mosquitto_pub and the Node-RED debug sidebar, and I kept a copy of the flow templates, screenshots and wiring diagrams on my site at https://watdafeck.uk for reference and future updates.
In the end I had a reliable system where a scheduled capture publishes to MQTT, the analyser tags images and publishes events, the dashboard shows the latest images and sensor charts, and physical devices react via retained MQTT commands to ensure predictable behaviour after restarts.
Follow me on: Facebook: https://www.facebook.com/watdafeck3d · Instagram: https://www.instagram.com/watdafeck3d/.
Comments
Post a Comment