Range Testing for Hobbyists: A Beginner's Guide
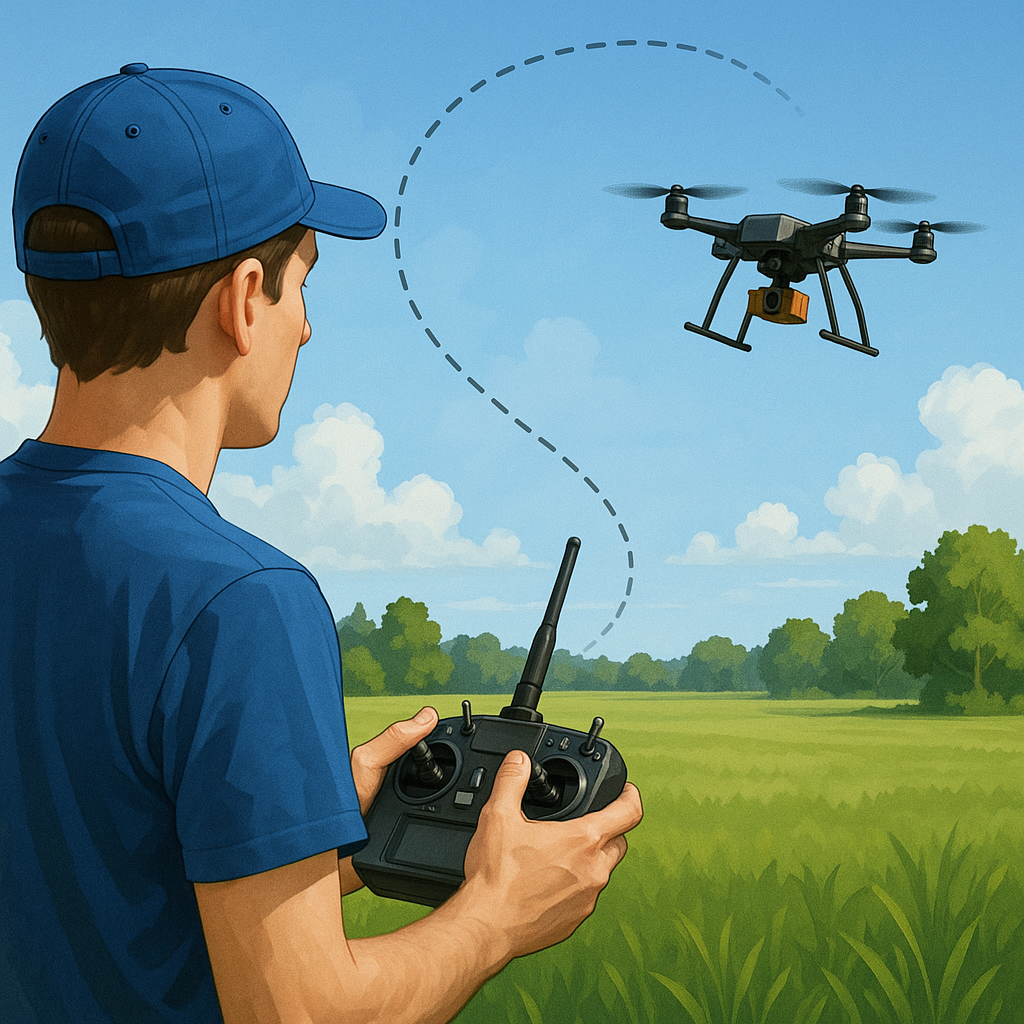
Range testing is the simple process of checking how far your radio link will reliably work in the environment where you fly or operate, and it is an essential safety step for every hobbyist pilot and remote operator. Performing a proper range test helps you understand the limits of your kit, identify weak points such as poor antenna placement or electrical noise, and avoid unexpected failsafes in the field. This guide walks through the basics with a practical focus on antenna placement, ExpressLRS tuning, noise reduction and filtering so you can get meaningful results from a test session.
Antenna placement is one of the largest single factors affecting range, and small changes can make a big difference to reception and transmission. Keep receiver antennas clear of carbon fibre, wiring looms and the operator's body, and orient them roughly orthogonal to one another when using diversity receivers so that at least one antenna has a favourable angle to the transmitter. Mount video antennas and high-power transmitters away from the receiver antennas to reduce desensitisation, and consider upgrading to slightly longer antenna leads so the receiver can be positioned with the best line-of-sight away from the rest of the stack. Finally, test with the model oriented as it will be in flight rather than tucked into a box during bench checks so you measure real-world behaviour.
ExpressLRS, commonly shortened to ELRS, gives hobbyists fine-grained control over RF parameters and is particularly useful during range testing because you can adjust power, RF mode and packet rate to see how each setting affects reach. Begin with a conservative transmitter power and a known default RF profile, then increase power in steps while noting RSSI, link quality and packet loss at each distance. Use the ELRS GUI or Lua scripts to log telemetry and keep an eye on SNR as well as raw RSSI, since SNR gives a better idea of usable signal in noisy environments. If you want step-by-step build guides, you can find related posts on my maker blog at https://watdafeck.uk for practical ELRS examples and suggested settings.
Noise reduction and filtering are often overlooked but they directly affect sensitivity during a range test, and reducing interference at the source will improve both telemetry and fail-safe behaviour. Start with power distribution: use a clean BEC or regulated supply for your receiver, add decoupling capacitors close to sensitive modules, and place ferrite beads on motor and ESC leads to tame high frequency noise. For receivers and FPV gear, consider an LC filter or common-mode choke if you detect broad-spectrum hash, and keep ground planes intact on your flight controller to avoid creating noisy loops. Also separate the RX antenna from high-current wiring and video transmitters as much as your frame allows, and test with the props removed if you suspect motor electrical noise is limiting range.
When you perform the practical range test, follow a simple checklist to keep results consistent and repeatable so you can compare settings and changes properly. Conduct testing in an open area with minimal obstructions and a spotter present, start at close range to confirm baseline performance, then walk or fly away in measured steps while logging telemetry and noting RSSI or LQ values. Verify failsafe distances and behaviour at each step rather than relying on a single maximum figure, and repeat tests with altered configurations such as antenna orientation or ELRS power to observe the effect. To help you run a clear and safe session, here are recommended checklist items you can follow.
- Confirm failsafe and home bind before leaving the start point.
- Record baseline RSSI, SNR and packet loss at 10 metres.
- Increase distance in set increments and log readings at each point.
- Repeat tests with different antenna orientations and transmitter powers.
- Note environmental conditions such as nearby structures or metal that could skew results.
Follow me on: Facebook: https://www.facebook.com/watdafeck3d · Instagram: https://www.instagram.com/watdafeck3d/.
Comments
Post a Comment