Soldering Skills for Hobbyists: A Beginner's Guide to Flux, Connectors and Cold Joints.
Soldering is one of the most useful hands-on skills for any maker, whether you build RC models, home electronics or custom power boards, and learning a few reliable techniques will save you time and frustration. This guide covers the essentials a beginner needs to know about flux, working with connectors and power distribution boards, and how to avoid the common problem of cold joints. Read through the practical tips and adopt one or two new habits at a time to build confidence and better results.
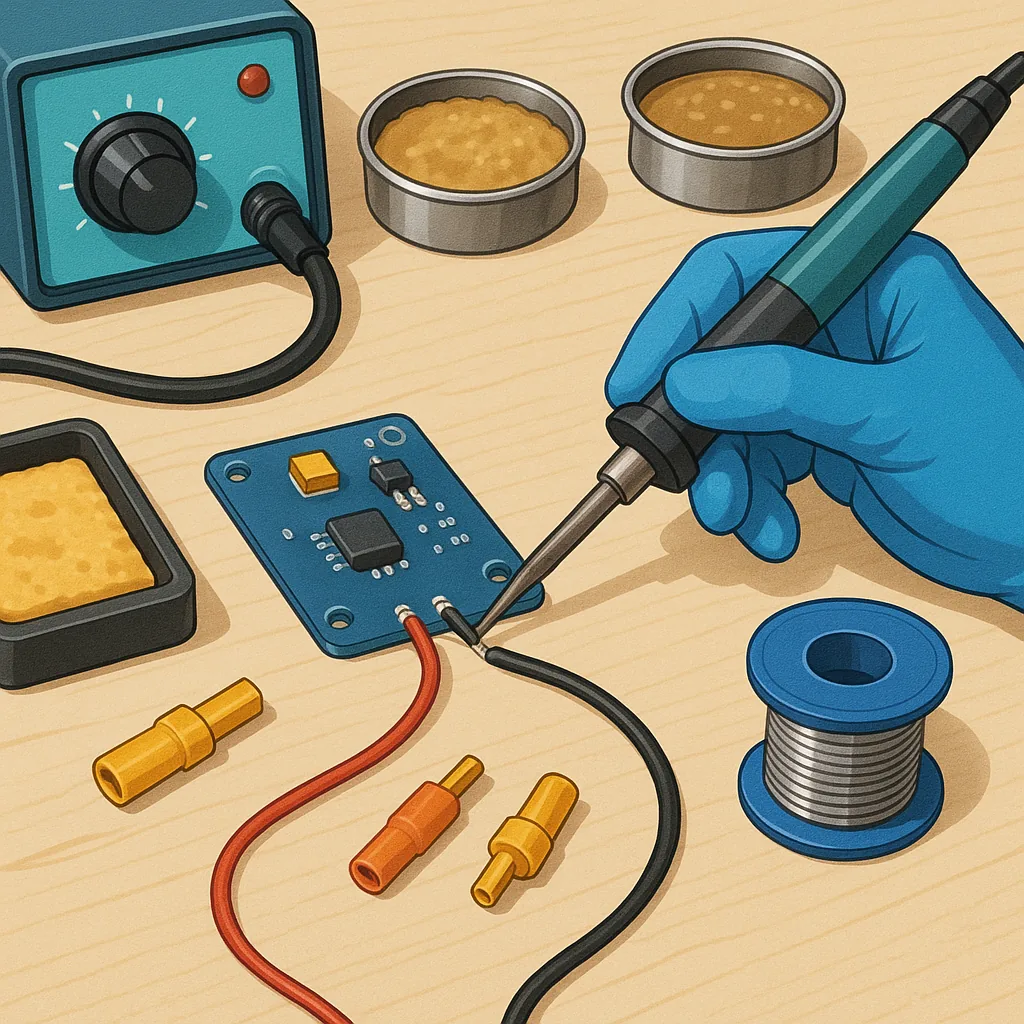
Start with the right tools and safety gear and you will make every soldering session easier and safer. A temperature-controlled soldering iron with interchangeable tips is a worthwhile investment because it lets you use the correct tip for fine electronics or heavier joints on power boards. Use good quality solder wire, typically 60/40 for ease or a lead-free type if required, and keep a damp sponge or brass wool to clean the tip. Flux pens, solder wick, a solder sucker and helping hands make awkward joints manageable, and a small fan or fume extractor is essential to avoid inhaling flux fumes. Always work in a well lit space and wear eye protection when dealing with hot solder and wire.
Flux is often misunderstood, yet it is central to making strong solder joints because it removes oxidation and improves wetting between the solder and metal surfaces. There are several types: rosin-based flux for electronics, water-soluble flux that cleans easily but must be removed, and no-clean flux designed to leave minimal residue, each with trade-offs depending on sensitivity and cleaning capability. Apply flux sparingly with a pen or brush to the joint before heating so the surfaces are active, and use flux paste for some surface-mount work where controlled application is needed. After soldering, remove corrosive residues from water-soluble flux with suitable cleaner and a brush, while no-clean residues can be left if the board operates in a non-critical environment.
Connectors and power boards demand particular attention because they carry more current and often combine mechanical stress with electrical load, so plan joints with strain relief and correct materials in mind. Use properly rated crimp connectors where the connection is likely to be unplugged frequently and reserve soldering for fixed wiring or where a solid electrical contact is essential, and always tin stranded wire lightly before soldering to prevent fraying. On power distribution boards use larger tip sizes and higher temperatures suitable for the pad size, and consider solder lugs or terminal blocks for heavy wires so that the screw clamp carries the mechanical load while solder ensures conductivity. For practical layouts, detailed examples and project tutorials are available on WatDaFeck which demonstrate good practice for fuses, star grounds and battery leads.
Avoiding cold joints is mostly about heat and technique because a cold joint is created when the solder cools before the parts are properly wetted, producing a dull, grainy, or cracked appearance and unreliable conductivity. To prevent this, heat both the pad and the component lead equally with the iron and apply solder to the heated metal, not the iron tip, so the solder flows and makes a shiny fillet; do not try to hold moving parts while the joint cools, secure them first. Use the appropriate tip size to transfer heat efficiently, clean and tin your tip for best thermal contact, and add a little flux if a stubborn joint refuses to wet. If you suspect a cold joint, reheat and add fresh solder rather than relying on a visual inspection alone, and confirm continuity with a multimeter and a gentle mechanical test before powering the circuit.
Follow me on: Facebook: https://www.facebook.com/watdafeck3d · Instagram: https://www.instagram.com/watdafeck3d/.
Comments
Post a Comment