Step-by-step build log: testing RC power systems for hobbyists.
I started this project intending to pick a reliable motor and ESC pairing for a 1.2–1.5 kg electric foamie and to quantify how different props impact current draw and thrust, and I will record the process in a bench-test style build log. The goal was practical data rather than theoretical numbers, so I chose a common 2206 brushless motor and a selection of ESCs rated around 30–40 A to cover mid-range aerobatic park flyers and light sport models. For measurement gear I used a digital scale with gram resolution for static thrust, a high-current wattmeter for voltage and current, and temperature probes to track ESC and motor heating during runs. I also checked ESC firmware and protocol support as part of the selection process and made notes on which configurations gave the cleanest throttle response and telemetry data for later flight testing.
Step one was ESC selection and configuration, because the drive electronics determine protocols, braking and BEC behaviour and can limit peak current even when the motor is capable of more. I tested three types: a basic SimonK/PWM-compatible ESC with an analogue BEC, a BLHeli_S 30 A with OneShot and DShot support, and a BLHeli_32 40 A with telemetry and sine-wave output options. Each ESC was flashed or verified for the latest firmware and programmed for consistent motor timing and brake settings using a USB link or a programming card where needed. I documented the responsiveness with different protocols: PWM felt a touch mushy, OneShot improved low-throttle feel, and DShot gave the most repeatable readings plus built-in telemetry on the 32-bit ESC, which made later current logging simpler and more reliable.
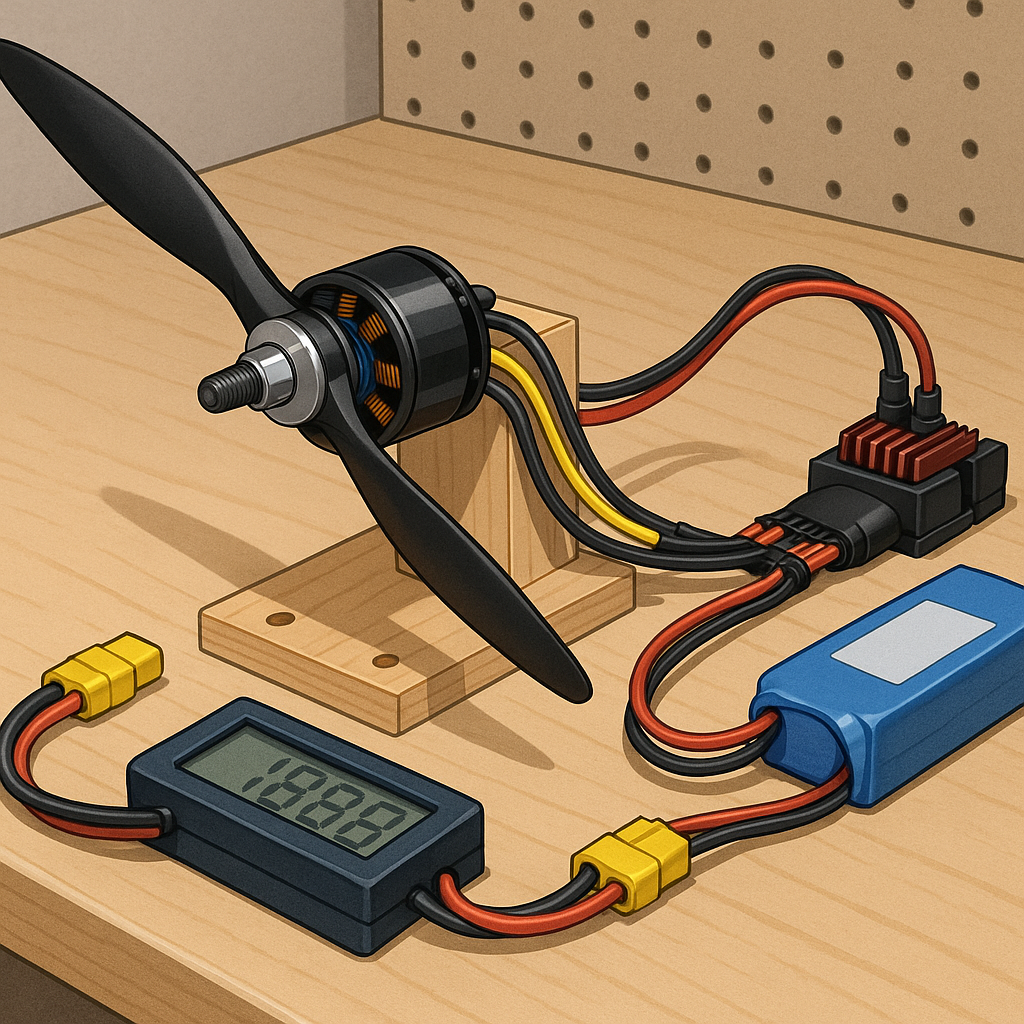
Step two was propeller selection and static thrust measurement, because prop diameter and pitch dramatically change the current draw and efficiency. I tested three props: a 9x4.7 two-blade, a 10x4.5 two-blade and an 8x6 three-blade, running on a 4S battery for consistency. For each prop I recorded voltage, current, and thrust at 25 per cent increments up to full throttle, and I averaged three runs to reduce measurement noise. The 9x4.7 produced the best grams-per-watt at mid throttle, the 10x4.5 produced higher peak thrust but pulled more current and warmed the ESC faster, and the 8x6 three-blade gave higher static thrust with a significant current penalty and lower efficiency. I logged all the raw data and wrote a companion summary on my site at watdafeck.uk for reference and downloadable CSVs.
Step three was analysing current draw and determining safe margins, because a motor may be capable of pull that an ESC or battery cannot sustain safely. From the test runs I plotted current vs thrust and calculated the thrust-to-weight scenarios relevant to the airframe. A practical rule of thumb I used was to allow at least 25 to 30 per cent continuous current headroom in the ESC rating above the highest sustained current in testing, and to size the battery for a C-rate that keeps peaks under its sustainable discharge capacity. I also calculated grams per watt to compare prop efficiencies and used temperature rise after three 30-second runs as a proxy for thermal performance in expected flight profiles. These figures helped me decide to prefer the BLHeli_32 40 A ESC for marginal high-thrust setups because of its telemetry and higher thermal headroom.
Step four covered final assembly, safety tuning and flight prep, focusing on wiring, calibration and mechanical considerations. I used short, well-soldered power leads, an inline current-sense connection for the flight controller where telemetry was available, and heatshrink and zip ties to secure everything clear of moving parts. ESC calibration and throttle endpoint checks were performed with the prop removed to ensure a safe zero and full throttle mapping, and I set low-voltage cutoffs conservatively to avoid battery damage during aggressive flights. For installation I added an aluminium heat-spreader to the ESC mount, ensured the motor shaft and prop were balanced within a gram or two, and re-ran the static thrust and current checks on the completed airframe to verify in-situ performance before the maiden flight.
Follow me on: Facebook: https://www.facebook.com/watdafeck3d · Instagram: https://www.instagram.com/watdafeck3d/.
Comments
Post a Comment