Troubleshooting Your Maker Workshop: Practical Tips for Storage, Jigs, Organisation and Tool Upgrades
Troubleshooting Your Maker Workshop: Practical Tips for Storage, Jigs, Organisation and Tool Upgrades
Every maker hits frustrating moments when a project stalls because of a simple workshop problem, and a troubleshooting mindset will save time and money by diagnosing the real cause rather than treating symptoms alone. Start by asking three quick questions whenever something goes wrong: what changed since it last worked, what specific symptom am I seeing, and what is the simplest test I can run to isolate the issue. Keeping those questions in mind turns panic into a methodical checklist and helps you prioritise fixes from quick adjustments to bigger upgrades.
Storage problems are a common root cause of stalled builds, because misplaced parts and deteriorating supplies disrupt workflow and increase waste. Troubleshoot storage by categorising items into frequently used, occasional and consumable groups, then assign each group a clear home such as labelled drawers, clear stackable boxes, or dedicated bins with removable foam inserts for fragile parts. Deal with environmental issues like humidity and dust by using sealed containers for electronics and silica gel packs for vulnerable materials, and make a habit of returning tools and kits to their labelled locations immediately after use to keep the system working.
Jigs and fixtures are the backbone of repeatable work, and when parts don’t fit or cuts shift it usually points to an alignment or clamping problem rather than the cutting tool itself. Troubleshoot jigs by checking for play in all registration points, adding indexing pins or knock stops for positive location, and using sacrificial faces to keep surfaces square. If a jig is consistently underperforming, print or cut a test piece, measure it against a known good part, and adjust the jig in small increments until your test piece matches the intended dimensions.
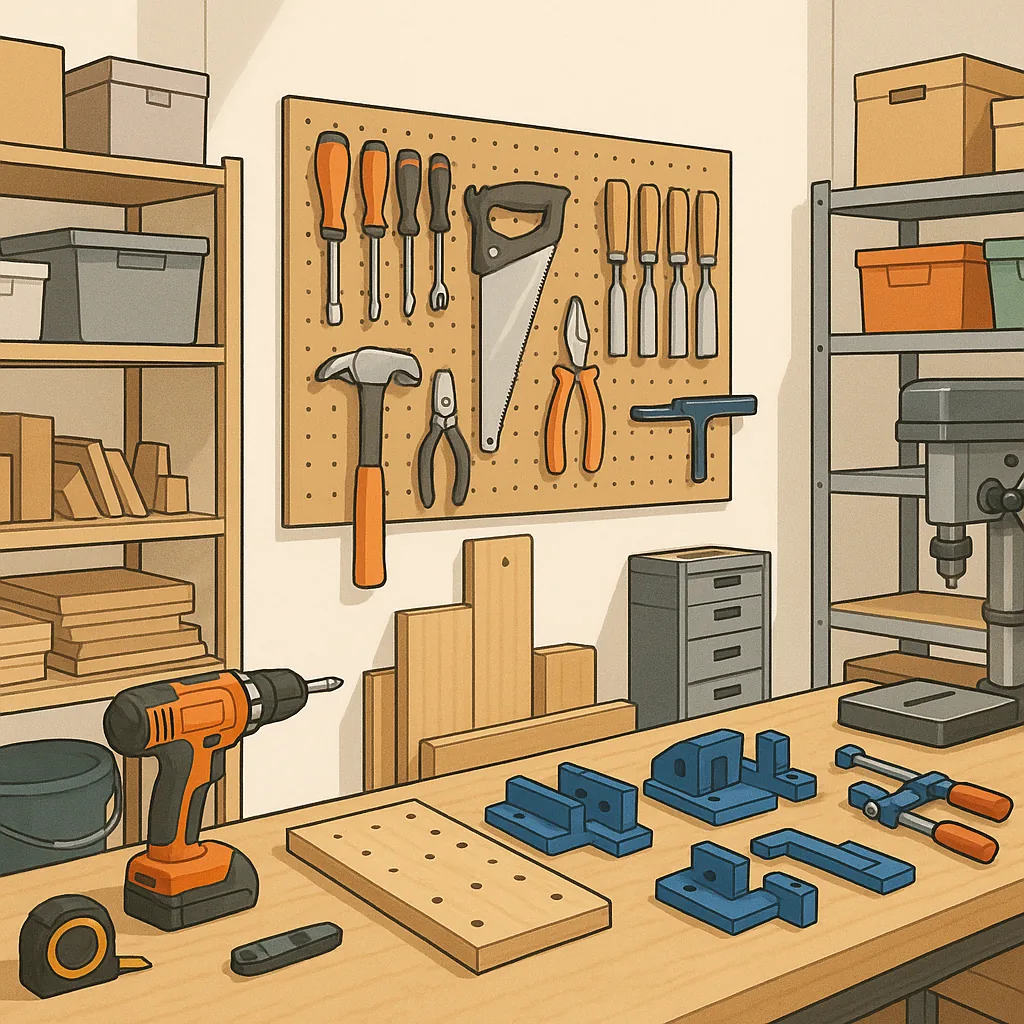
Organisation of the workspace directly affects how quickly you can diagnose an issue and get back to building, so arrange your bench as a workflow rather than a storage space. Create zones for preparation, assembly, finishing and electronics, and keep a small kit ready for each common task with the precise consumables and tools needed for a quick job. Use shadow boards, labelled trays and a simple visual inventory to speed up the search for a tool, and consider dedicated power strips and cable management to reduce the number of false tool failures caused by tripped fuses or accidental unplugging.
Deciding whether to repair, refurbish or upgrade a tool often feels like a gamble, and good troubleshooting reduces the risk of buying the wrong replacement. Run a quick performance test to compare the tool’s current output to its original specification, examine wear items like brushes, bearings and collets, and weigh the cost of parts and labour against the price of a quality replacement. For guidance on sensible upgrades and where to spend a little extra for reliability, visit my resource page at WatDaFeck for deeper walkthroughs and test comparisons that help you choose the right tool for your workshop needs.
Finally, adopt a short maintenance checklist to prevent problems from recurring, including routine sharpening and alignment checks for cutting tools, regular lubrication and tension checks on moving parts, and a monthly inventory review to replace consumables before they run out. Test any jig or setting on scrap material after an adjustment, document changes with a photo or short note, and keep a small "first aid" kit of spare fasteners, fuse links and adhesives so minor failures can be fixed immediately. These small habits reduce downtime and keep your maker projects moving forward with predictable results.
Follow me on: Facebook: https://www.facebook.com/watdafeck3d · Instagram: https://www.instagram.com/watdafeck3d/.
Comments
Post a Comment