Beginner's Guide to Building 18650 Battery Packs for Hobbyists
Building your own battery pack can be a rewarding project for makers, whether you are powering an RC model, an e-bike conversion or a portable tool, and 18650 cells are a good entry point for many hobbyists because they are affordable and widely available.
Start by understanding the cells themselves, since 18650 is only the size designation and not a guarantee of capacity or quality, and reputable cells from known manufacturers are safer and give more predictable performance than unknown white-label units.
It is important to match cells in a pack by capacity, internal resistance and state of charge before assembly, and you can use a multimeter and a simple cell tester to screen used or recycled cells for major faults prior to building a pack.
When you plan the pack layout remember that cells in series increase voltage and cells in parallel increase capacity and current capability, and you should decide your pack voltage and capacity first so you can calculate how many cells you need in series and in parallel to meet your requirements.
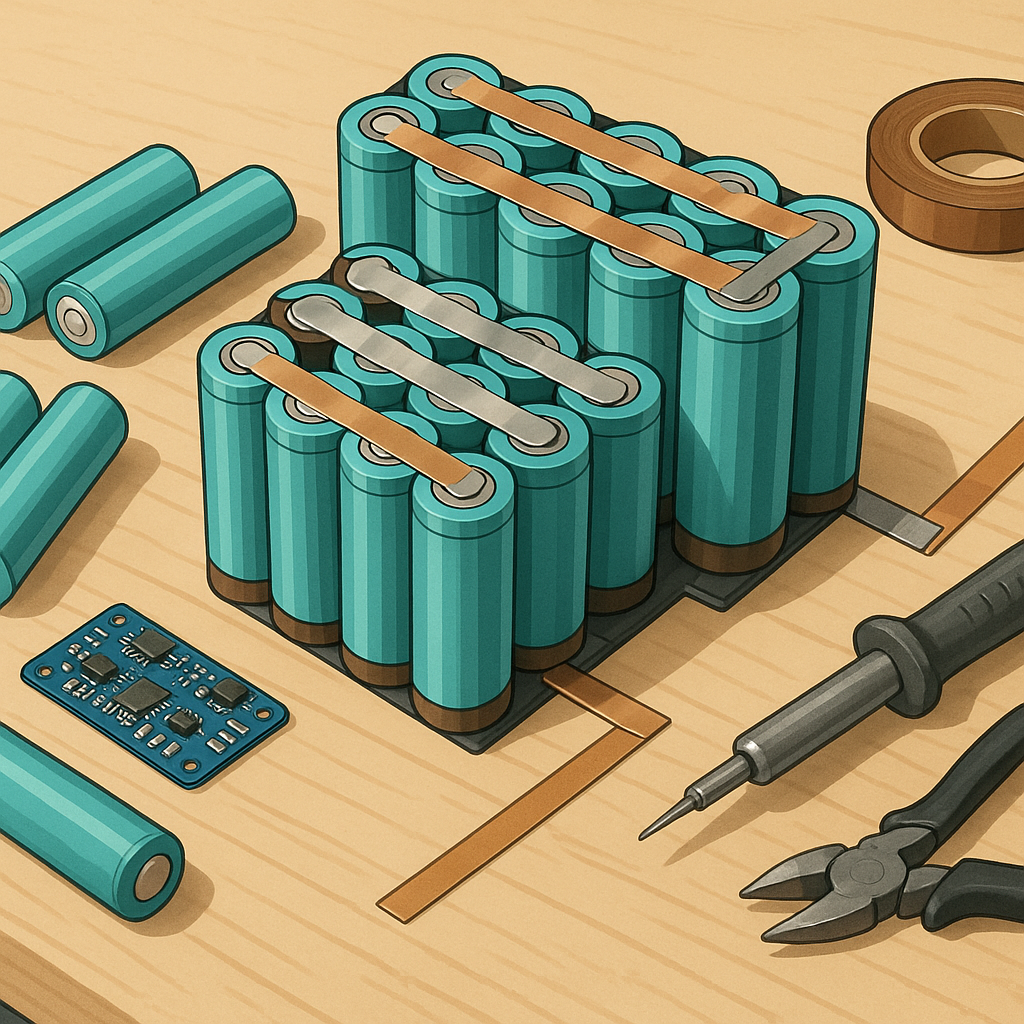
Spot welding nickel strip to cells is the recommended method for assembling 18650 packs because it minimises heat transfer to the cell compared with soldering, and if you do not have access to a spot welder a skilled restorer will sometimes offer welding services for hobby projects to help avoid damaging cells with direct soldering.
A Battery Management System, or BMS, protects each series string from overcharge, overdischarge and excessive current and is strongly recommended for packs that will be charged or discharged unattended, and while advanced users sometimes omit a BMS for bench projects with careful monitoring the safety and balance features of a proper BMS make it the right choice for most builds.
Practical tips include using cell holders or fishpaper to isolate cells, insulating connections with heat-shrink or Kapton tape, adding a main fuse and balance leads, and performing an initial slow charge and a low-current discharge test to verify pack behaviour before regular use, and for more build inspiration and project walkthroughs visit the WatDaFeck blog for real-world examples and photos.
Follow me on: Facebook: https://www.facebook.com/watdafeck3d · Instagram: https://www.instagram.com/watdafeck3d/.
Comments
Post a Comment