Cinelifter Drones for Hobbyists: Project Ideas and Practical Tips
Cinelifter drones bring cinematic camera movement to the hobbyist world and make ambitious aerial shots achievable with home workshop skills and modest budgets. They are essentially heavy-lift multirotors optimised for low-vibration, stable camera carriage and longer, smoother flights than typical racing or toy drones. For hobbyists the appeal lies in building something that bridges photography, engineering and piloting, and in learning to balance payload, power and control to capture professional-looking footage. This roundup offers project ideas and practical advice focused on camera loads, vibration control, ND filters and flight planning to help you get started.
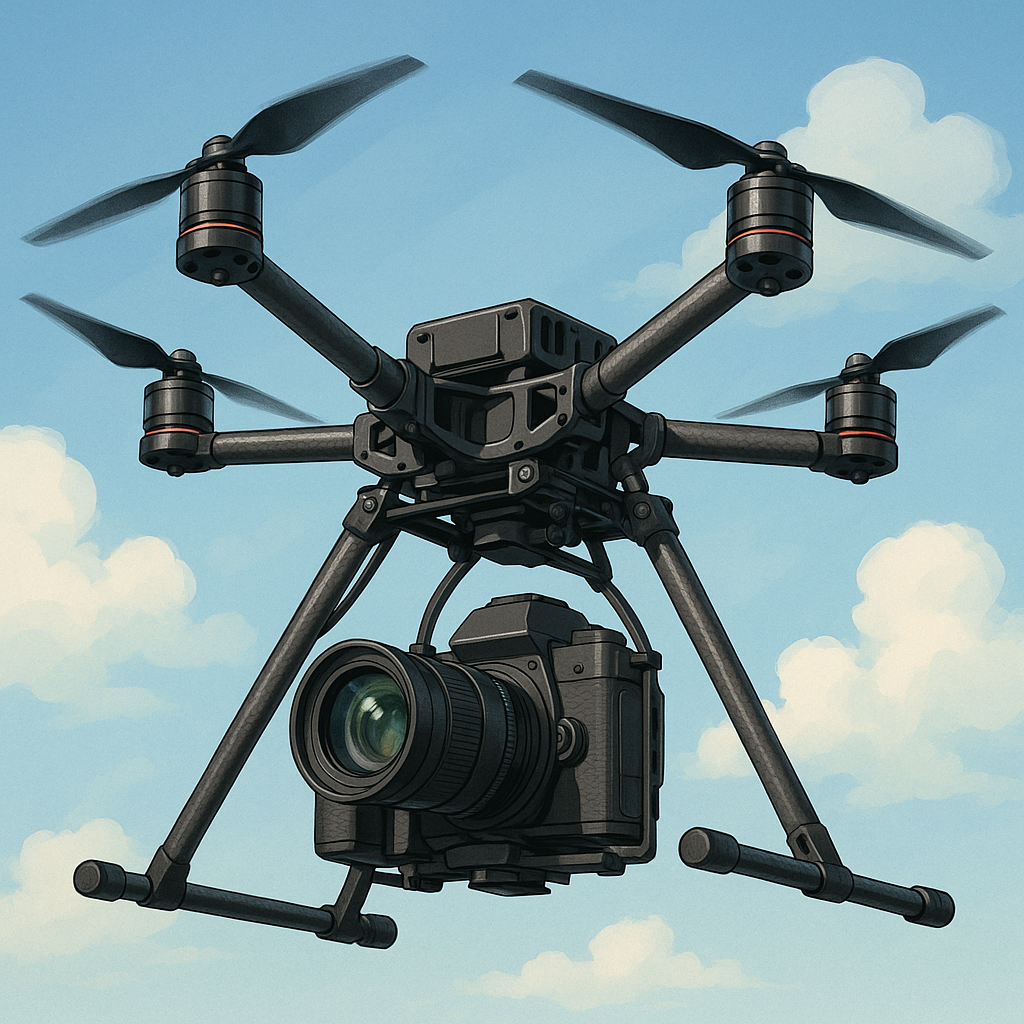
Choosing the right camera load is the first project decision and it shapes frame, motors and battery choices for your cinelifter build. Start by matching camera weight to propulsion: mirrorless cameras and small cinema cameras usually sit in the 500–1500 gram range and demand robust frames and IMUs rated for the mass. Consider lens choices too, because a long lens shifts the centre of gravity and increases torque during manoeuvres, which affects gimbal sizing. If you want step‑by‑step build guides, parts lists and performance notes for hobbyist rigs, visit WatDaFeck for practical examples and supply suggestions.
Vibration control is the practical art that separates jittery amateur footage from smooth cinematic shots, so dedicate one project to testing isolation methods and balancing. Soft mounts, layered dampers and tuned mass dampers can all be used between the airframe and the gimbal, and it is worth experimenting with different materials such as silicone, sorbothane and high‑durometer rubber to find what works with your weight and vibration frequencies. Balance props and motors precisely and check for bent or imbalanced props because tiny imbalances amplify through larger camera loads. Log accelerometer data from the flight controller or use a smartphone app to identify dominant frequencies and tune isolation accordingly.
ND filters are the unsung hero of aerial cinematography and make another great incremental project that requires both hardware and exposure discipline. Using neutral density glass or resin reduces light without changing colour and lets you use shutter speeds that produce pleasing motion blur at typical cinematic frame rates. Test variable ND filters cautiously, because at higher densities some models introduce colour casts or banding on certain sensors, so a filter test rig and a controlled light source make for useful bench sessions. Consider making an adjustable mount or quick‑release system for ND stacks so you can rapidly switch densities in the field and capture matched exposures across varying light conditions.
Flight planning is the final project discipline and pairs well with a mapping or waypoint automation task for the cinelifter pilot who wants repeatable shots. Plan shots in advance with storyboards and ground reconnaissance, then translate them into GPS waypoints or follow modes that respect camera orientation and gimbal limits. Practise S‑curve reveals, crane‑like lifts and slow tracking passes with conservative battery margins, and always include abort points and return‑to‑home triggers in your mission files. Build checklist routines that cover payload security, prop condition, compass calibration and visual line‑of‑sight procedures, and conduct a dry run with a ballast weight before committing an expensive camera to a new flight profile.
Follow me on: Facebook: https://www.facebook.com/watdafeck3d · Instagram: https://www.instagram.com/watdafeck3d/.
Comments
Post a Comment