Node-RED automation for hobbyists: a practical buying guide.
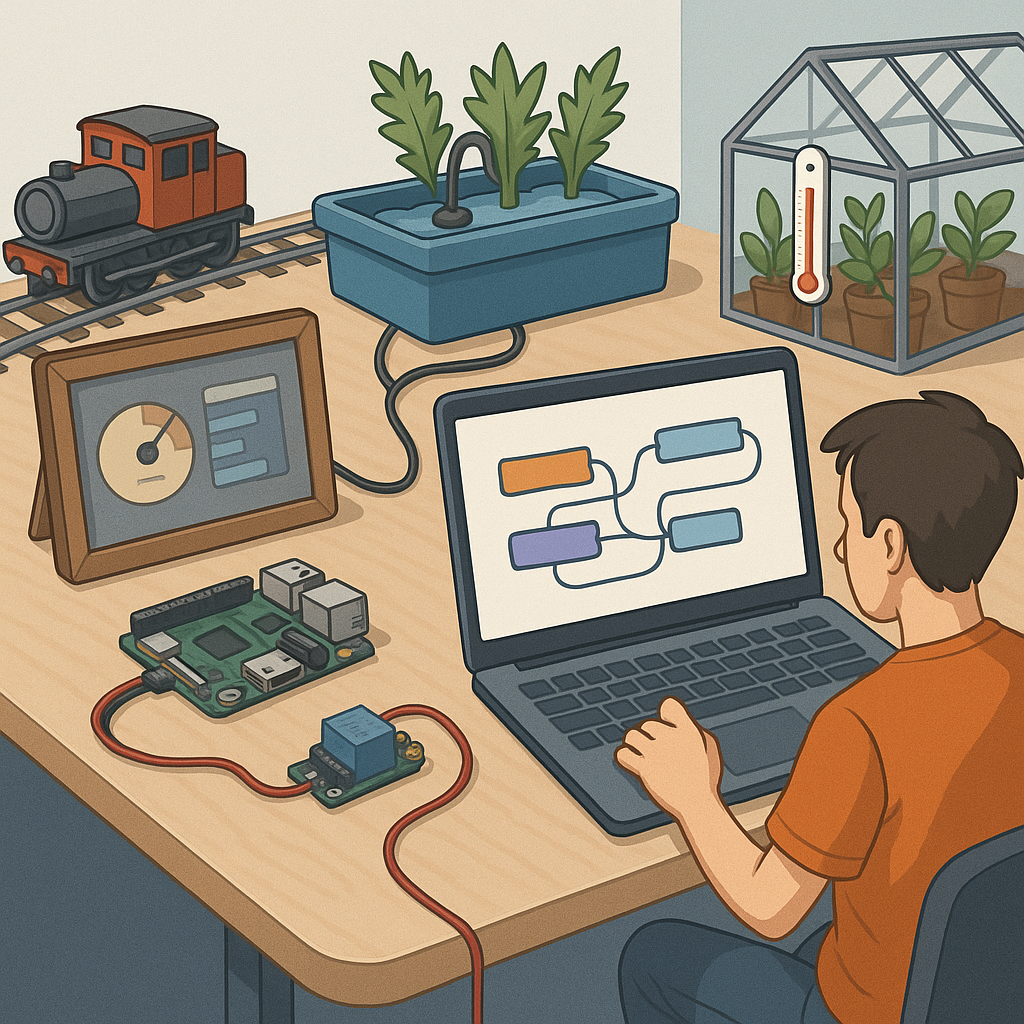
Node-RED is a visual flow-based development tool that makes automation accessible to hobbyists and makers, and this buying guide focuses on the practical parts you will need to start building reliable projects. Whether you want to automate a pond pump, create a smart greenhouse, or build an interactive dashboard for a model railway, picking the right hardware and nodes from the outset will save time and frustration. This guide highlights the essentials around MQTT, dashboards, flows, image processing, and scripting so you can choose kit that fits your ambitions and budget.
MQTT is the de facto messaging layer for lightweight, local automation and it is the first thing to consider when buying kit for Node-RED projects. For most hobbyists a Raspberry Pi running Mosquitto gives the best balance of cost and control, while a small VPS or cloud broker suits remote access needs if you secure it correctly. When selecting devices check they support persistent clients and QoS levels if you expect network dropouts, and favour hardware with good community support and documented TLS setups for encrypted connections. Small Wi‑Fi switches, ESP32 sensors, and cheap USB serial gateways are all fine if you pair them with a robust local broker and sensible topic naming conventions.
Dashboards are how you interact with flows and for many projects they determine how usable the system feels in daily use. Node-RED’s dashboard nodes work well with tablets, old phones, dedicated touch displays for Raspberry Pi, or small HAT displays if you want a compact panel, and you should choose whichever fits the place you intend to mount the interface. If you prefer ready-made tutorials and example dashboards to speed up learning, check the project pages at WatDaFeck. When buying a display consider brightness, mounting options, whether it can run a kiosk browser, and whether you need offline access so the dashboard remains available if the internet drops out.
Flows and scripting are where Node-RED becomes more than a toy and starts to behave like a professional automation platform, and the buying choices here are mostly about supporting the development workflow. Invest in a reliable local host such as a Pi 4 with an SSD for quicker startup times and consistent performance, and consider a second device for staging or backups so you can test updates safely. You will want to use function nodes and small JavaScript snippets, so a reference keyboard, a decent code editor for editing exported flows, and Git integration via node-red-contrib-git can be worthwhile purchases to keep flows versioned and recoverable. Also look at node libraries for time scheduling, error handling, and authentication before replicating functionality in custom scripts to save time.
Image processing in Node-RED opens many creative options from motion detection to simple OCR and object recognition, but the hardware requirements scale quickly with ambition. For light duties such as webcam snapshots, a Raspberry Pi Zero or Pi 3 with a Pi Camera or a basic USB webcam is perfectly adequate, while heavier tasks like real‑time object detection benefit from a Jetson Nano or a Coral USB TPU for hardware acceleration. If you plan to run OpenCV or TensorFlow models locally, account for heat, power supply, and cooling in your purchases, and consider modular camera choices so you can swap lenses or add night vision for outdoor projects. For many hobbyists a pragmatic approach is to start with a cheap camera and offload heavy processing to a stronger edge device only when the project proves useful.
To pull everything together, here is a compact shopping checklist to consider when planning a Node-RED setup for hobby projects.
- Raspberry Pi 4 with case, power supply, and SSD for reliable runtime.
- Mosquitto or managed MQTT broker subscription for remote access if needed.
- Tablet or Pi touchscreen for dashboards and control panels.
- ESP32 sensors and actuators for cheap, wireless I/O nodes.
- Camera options: Pi Camera v2 or HQ for image tasks; Jetson Nano or Coral TPU for heavy ML workloads.
- Reliable backup/storage solution and USB keyboard for development work.
Start small, test flows incrementally, and choose expandability over cheapest possible hardware so you can reuse components as projects grow and change. With good MQTT habits, a responsive dashboard, modular flows, a basic scripting toolkit, and the right camera hardware for your image tasks you will get the best results without overspending. The maker approach is iterative and many of the recommended items can be repurposed across projects, making them cost effective over time.
Follow me on: Facebook: https://www.facebook.com/watdafeck3d · Instagram: https://www.instagram.com/watdafeck3d/.
Comments
Post a Comment