RC Lighting for Hobbyists: A Beginner's Guide to Nav LEDs, Addressable Strips and Power Budgeting.
Adding lighting to an RC model is one of the most rewarding upgrades you can make because lights improve orientation, safety and aesthetics at the same time.
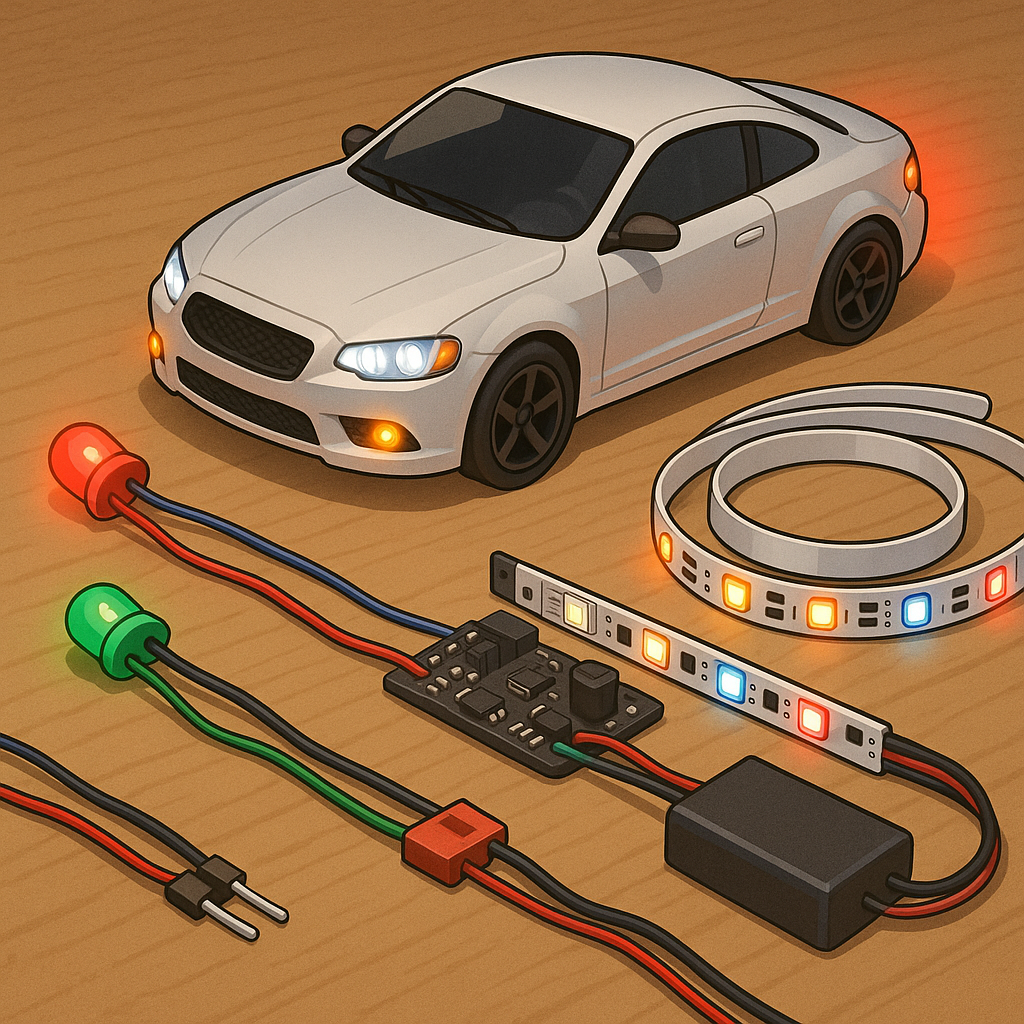
Start with navigation LEDs because they are simple, standardised and very useful for maintaining situational awareness during flight or on the water, and the conventional scheme is easy to follow with a red LED on the left (port), a green LED on the right (starboard) and a white at the tail for rear visibility.
Addressable LED strips such as WS2812B or APA102 let you create animated effects and colour sequencing without a tangle of wiring because each LED carries its own addressable controller, but they require a suitable controller such as a flight controller with an LED output, a small microcontroller, or a dedicated LED controller board and attention to signal voltage and timing.
Night flying brings extra considerations and you should plan for both pilot visibility and anti-collision lighting by combining steady nav LEDs for orientation with strobes or brighter white LEDs for long-range visibility, and you should always avoid blinding yourself or cameras by positioning lights so the pilot's line of sight and the FPV camera view are not overwhelmed by direct glare.
Power budgeting is crucial and you must calculate expected current draw before wiring up a strip; a single WS2812B LED can draw up to 60 milliamps at full white, so a 30 LED strip would require up to 1.8 amps at 5 volts and you should size your regulator or UBEC and wiring accordingly with some headroom for safety.
Practical tips include using a 1000 microfarad capacitor across the supply to smooth inrush currents, adding a small series resistor on the data line to protect the first LED, commoning grounds between controller and strip, and injecting power at multiple points on longer runs to avoid brightness drop; for parts and tutorials I sometimes refer readers to https://watdafeck.uk for project examples and parts lists.
- Check polarity and voltage before powering anything up.
- Measure current with a multimeter when testing full-brightness patterns.
- Use heatshrink or small enclosures where solder joints need protection.
When planning installations remember to account for weight and balance on aircraft, mount LEDs where they are visible from the needed angles rather than just where the wiring is convenient, and test lighting sequences on the bench first before flying at night so you can verify brightness, colour and power draw under safe conditions.
Follow me on: Facebook: https://www.facebook.com/watdafeck3d · Instagram: https://www.instagram.com/watdafeck3d/.
Comments
Post a Comment