Step-by-step: Building an RC Flight Simulator Setup with CRRCSim, Liftoff and Velocidrone
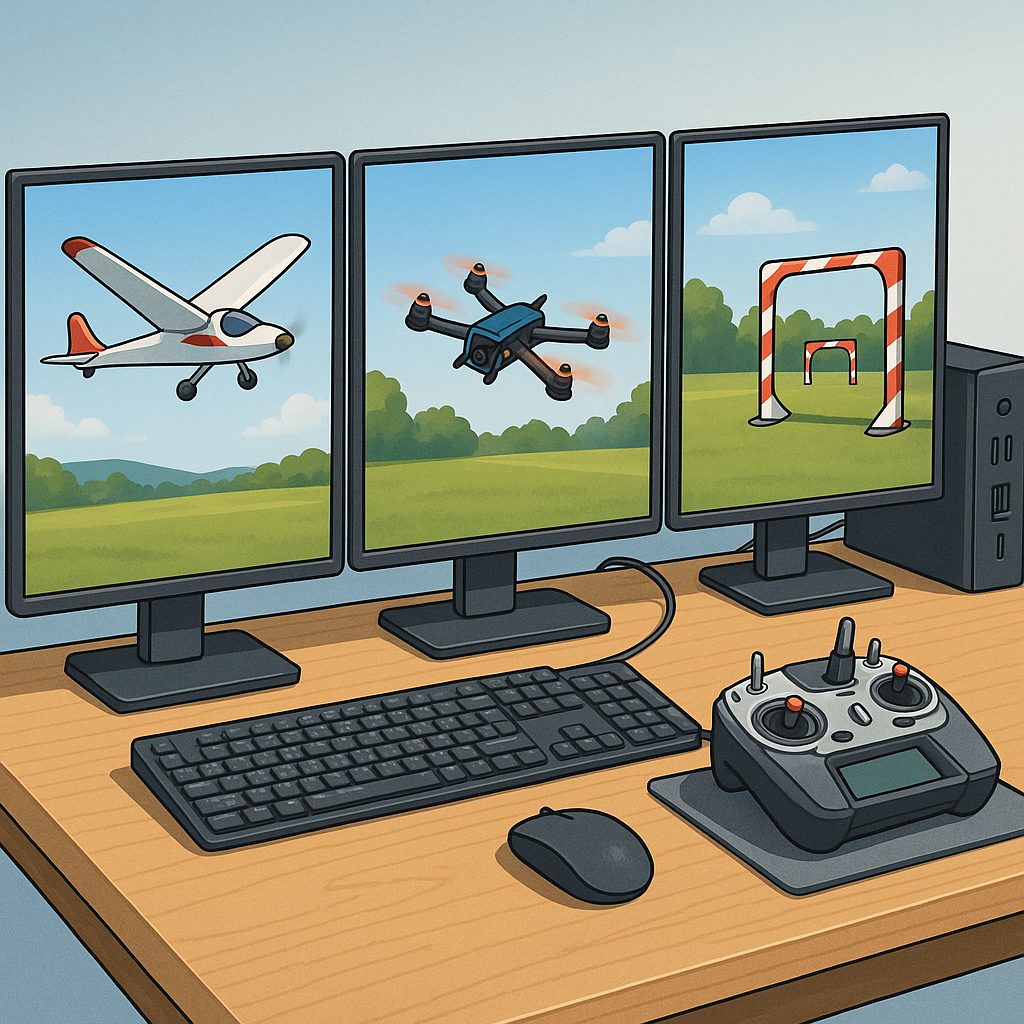
I started this build log to get serious practise time without risking models, and I focussed on three simulators most hobbyists use: CRRCSim for older plane and jet modelling, Liftoff for quad freestyle practice and Velocidrone for racing circuits and gate work. I wanted a setup that would let me switch between simulators quickly and keep controller mappings consistent across each program. The project began with a clean Windows 10 laptop, a FrSky Taranis-style transmitter I normally fly on, and a cheap USB trainer cable to act as the bridge for the radio input. I planned the steps so I could revert or tweak each stage as needed and record what worked for me in practice.
My first practical step was sorting hardware and drivers because a stable joystick input is the backbone of every simulator session. I connected the transmitter via USB and checked whether the radio exposed itself as a joystick automatically, and where it didn’t I used Zadig to replace drivers with WinUSB for consistent behaviour. For Spektrum or other radios that do not present as joysticks you may need a manufacturer USB cable or a dedicated dongle, so I bought a cheap trainer cable as insurance. I documented the hardware choices and driver notes on my site at WatDaFeck for future reference and to help friends replicate the setup.
With the hardware sorted I tackled CRRCSim first because it is the most hands-on of the three and helpful for learning channel mapping and trims. I installed the simulator, backed up the default models and loaded one familiar plane to calibrate input ranges and surface throws. My main steps were to calibrate endpoints to 1000–2000, set the throttle deadband so idle is recognised, and check that aileron and elevator directions matched the control surfaces. I saved a copy of the model folder after a successful run so I could copy it into other machines or restore it after experimenting with aerodynamic parameters and wind settings. This iterative approach helped me learn how small trim or rate adjustments change behaviour in flight.
- Connect radio and verify it appears as a joystick or HID device in Windows.
- Open the simulator controller settings and run stick calibration until axes move smoothly across full range.
- Set channel order and reverse channels where necessary so left/right and up/down match the model.
- Save controller profiles and export them if the simulator supports it to keep consistency between programs.
Next I moved to Liftoff because its physics are friendly for learning freestyle and the interface for controller mapping is straightforward. In Liftoff I created a controller profile named after my radio, ran the in-sim stick calibration and held a few short hover sessions to tune throttle mid-point and expo settings. I also tweaked the sensitivity curve inside Liftoff to match the feel of my actual quad, because the sim’s default can feel floaty compared with a real model. I practised short circuits and a few flips to make sure that the stick inputs produced predictable responses, and I exported the profile so I could re-import it on other machines.
Velocidrone was last and I focused on its latency and rate settings since racing relies on crisp inputs. I set up a dedicated controller profile, adjusted the RC rates to mirror what I use on the transmitter and used the simulator’s telemetry overlay to check that stick inputs were translated into expected yaw, pitch and roll rates. I spent time practising gate runs and tuning my Betaflight-style rates in the sim so transitions between sim and real quad felt familiar. For all three simulators I made sure to save a “warm-up” routine that included throttle range check, control surface movement and a short engine run or motor spool-up so I always started sessions systematically and built muscle memory.
Overall the build was about repeatable calibration, consistent channel mapping and saving profiles immediately after success so I could iterate without losing progress. If you follow a stepwise plan—sort drivers first, nail the joystick calibration, save working model files and export controller profiles—you get reliable practise time that actually improves flying rather than reinforcing bad habits. The setup now fits into a small travel case with radio, USB cable and laptop so I can practise at a café or at the club without fuss, and I routinely switch between CRRCSim, Liftoff and Velocidrone depending on what skill I want to sharpen.
Follow me on: Facebook: https://www.facebook.com/watdafeck3d · Instagram: https://www.instagram.com/watdafeck3d/.
Comments
Post a Comment